A Pumpkin Find – Runner with Scraps
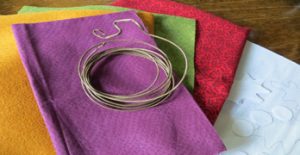
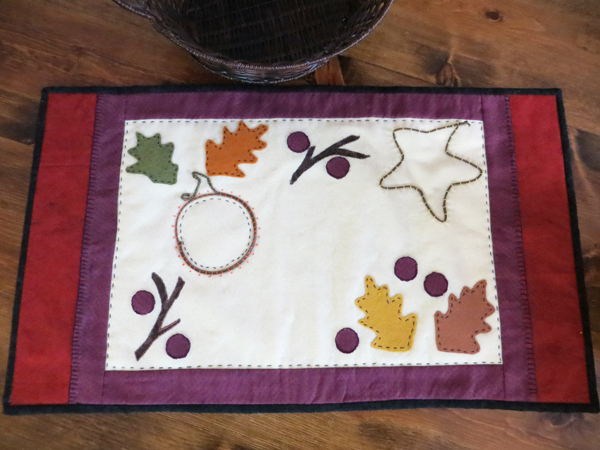
I was looking in my fabric cabinet and this brown paper wire was just sitting there, in the exact shape of a pumpkin. I just wanted to embroider that on something. How’s that for not having to think too hard about what to make. I thought it was a great time to pull out my fall colored wool and leftovers and make something. I couldn’t just let those bright colors go to waste!
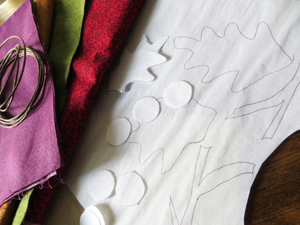
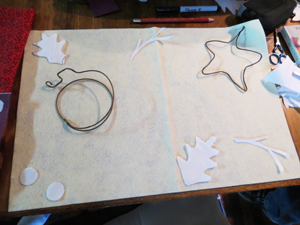
I found some double stick fusible web and started to draw shapes. I also found my cream wool for the middle of whatever I was creating, I still wasn’t quite sure. I used the paper-covered wire to finish the pumpkin shape and cut it. I also made a quick star. I think I found this wire in the floral aisle to use on Christmas ornaments last year. A snowman?
After deciding a size, and cutting out all my shapes, I placed them on the wool. Cut a piece of wool or felt to the size needed. Make sure it’s squared off right.
Still not quite done. More circles and leaves are needed.
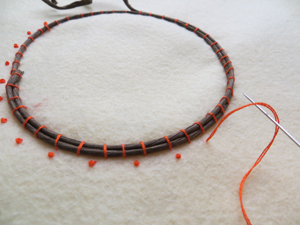
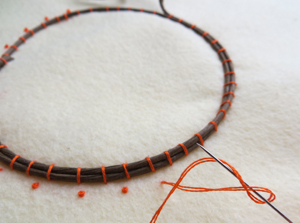
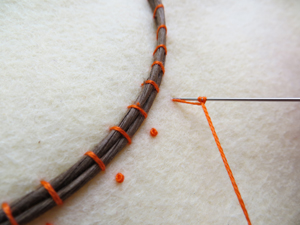
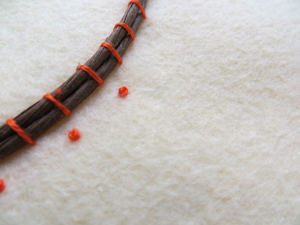
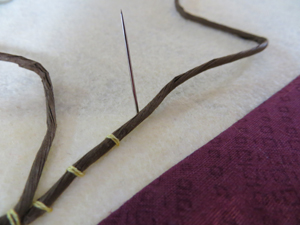
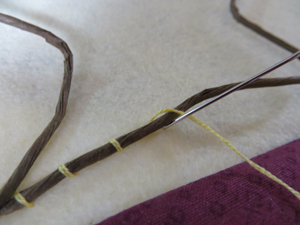
I was so anxious to embroider down the pumpkin. It was what I intended to do when I found it. I started there. I couched down the shape. That is a very simple up and down stitch. Pictures below.
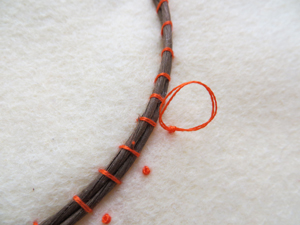
Then I placed Colonial Knots all around the pumpkin. Do you know how to do a Colonial Knot?
Come up and place the needle under the thread. Wrap the thread around the tip of the needle.
Pull and hold snug while inserting the needle, pull from underneath. Don’t mess this up. It’s a knot.
Pretty.
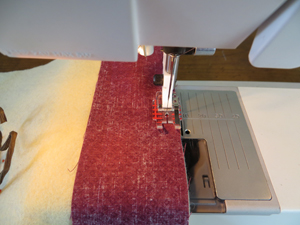
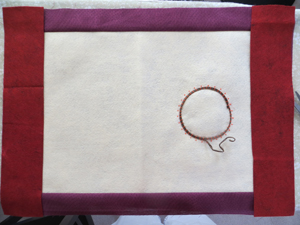
I was getting carried away. I thought I’d better add those borders. I picked a width, measured each side and sewed them on. Note: I favor the smaller side size, if they are different then fudge one strip in, but the borders must be the same size strips, regardless of what size your sides are. Two thinner ones for the top and bottom, two fat ones for the sides.
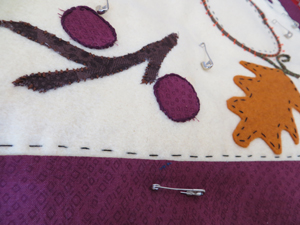
I cut out the applique shapes on my fabric and ironed them down. Steam a Seam 2 is great for this type of applique. I didn’t do traditional applique, I just made rustic type stitches around the branches; stem stitches around the circles and backstitches on the leaves. All pretty rough, nothing too perfect about them.
The couching of the wire…simple. Keep them at even intervals, up from back down.
Finish the back with a piece of batting – I use Warm and Natural. Cut the backing fabric piece, pin in place. I didn’t quilt everything down to these pieces.
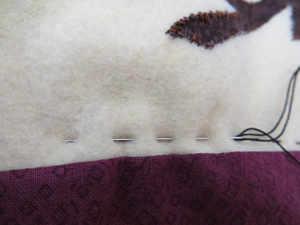
This is the running stitch. I did this all around the inside. I can take 4-5 at a time with this regular embroidery needle. The trick is to make sure your needle is not fat, the larger the needle the larger the stitch. When you quilt and want to hand quilt areas, a size 10-11 ‘quilting between’ will give you tiny little stitches. I love to quilt.
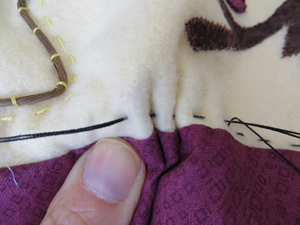
I also did the buttonhole stitch around the edges, but you can just embellish this with any stitches you’d like. Add the binding. If you have some stitching skills, hopefully you are inspired to look for little things in your sewing cabinet to put together spontaneously.
Ready for the table!


