Dotty Christmas Burlap Runner
This is the simplest runner I think I’ve ever made. I love the big round dots, they remind me of the big round snowflakes in Charlie Brown Christmas. It only took me a few hours, start to finish, and that included taking pictures! So I can testify that this is a project you will finish and have on the table in no time.
Plus, I think there’s something therapeutic about weaving twine through the fabric. It’s easy, monotonous and relaxing. Along with sponging the dots, what grand fun. Dot, dot, dot, dot…
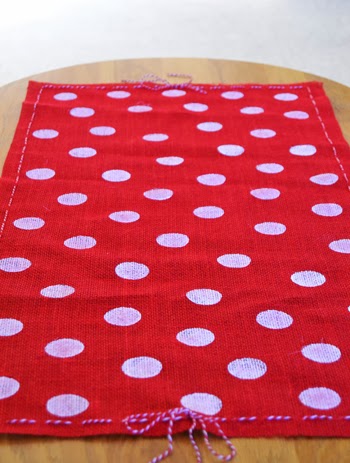
Another fun thing about this runner is that you can make it any size you want – long and narrow, or even square! I made mine 17″ x 34″
You Will Need:

1. Cut a single layer of burlap to the size you desire the runner to be. Again, I cut mine 17″ x 34″. Burlap can be a little messy to cut! Make sure that the burlap is flat and even on the cutting board, as it tends to shift around a lot, and the edges are straight after you cut them.
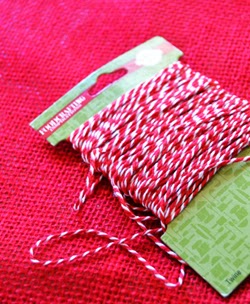
2. Find the center point of the two short parallel sides. Estimate the amount of twine you are going to need by running the twine around the edge of one-half of the runner, leaving about 18″ extra at each starting point as shown. Cut two measures of twine at this length.
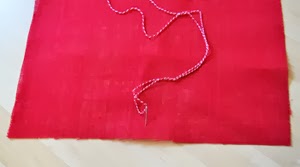
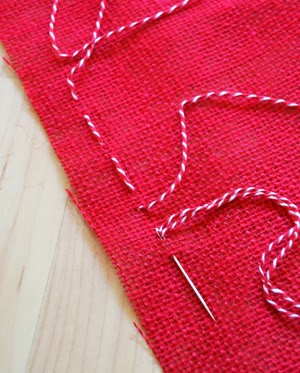
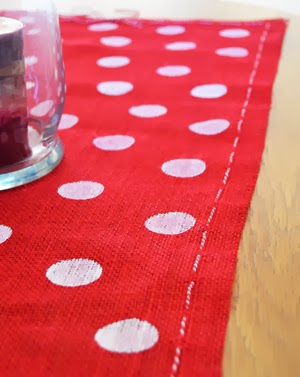
3. Thread the needle with the twine, do not knot the end. Insert the needle in the center of the short side, about 1 1/2″ from the edge, and pull through, stopping to leave the 18″ tail. Begin a long-running stitch as shown.

Continue the running stitches along the edge, stopping when you reach the center point of the other side, parallel to the one you started on. Trim the twine, leaving an 18″ tail.
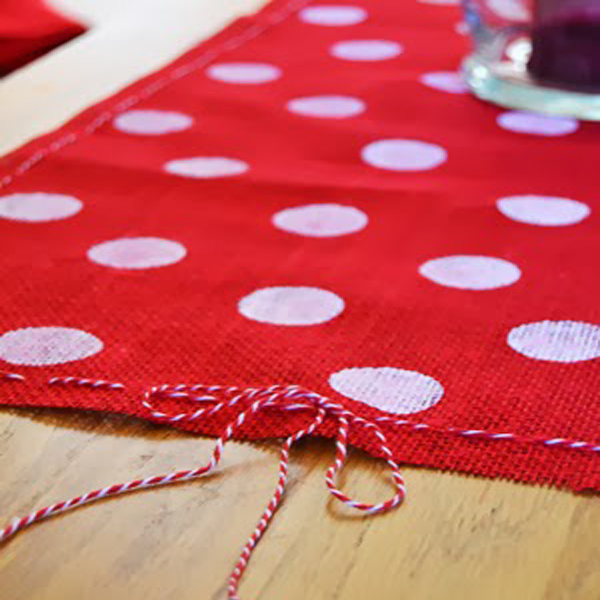
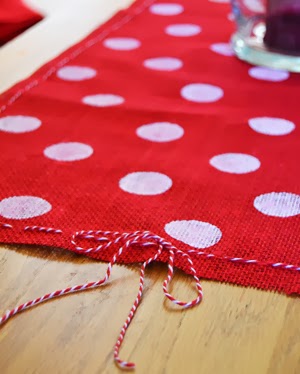
Repeat the same steps for the other side of the runner. When you are finished, you will have two sides that meet in the middle. Tie a bow!
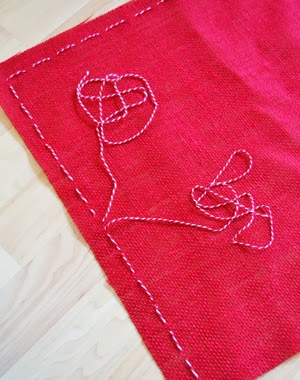

If you happen to knock off some of the threads while you are stitching (like I did), you can go back with the quilting ruler and rotary cutter and even up the edges again. I had to straighten mine out a bit.
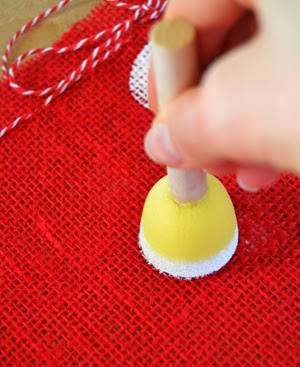
Now to sponge on the dots! I had bought a package of assorted round sponges (the cute kind with the handles) and chose the largest one, about 1 1/2″ in diameter, but you can make them as big or small as you like. I also stamped the dots sporadically, but evenly, on the runner, but you can be precise about this if you wish… I was having fun just stamping dots as I thought they looked pretty!
5. Lay out the cardboard. Fill a paper plate (or another dish you don’t mind putting paint on) with a large puddle of acrylic paint. Don’t be stingy on this part, I used quite a bit of paint. Dip and dab the sponge in the paint until it’s good and wet.
I recommend testing your stamping skills on a scrap of burlap before starting on your runner, just in case.
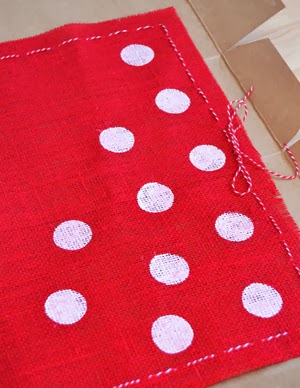
Keep dotting and keep the runner on the cardboard, or you will have a polka dot floor. Stop when you have enough. Can you believe that’s the end of the project? Let it dry for a little while, and lay it on the table!
So adorable, and so easy! I was very happy with it. 🙂 So go get some burlap and make a runner!
Child of God, Wife to Josh, Mommy to my four sweet children. Thankful for busy days filled with homeschooling, homemaking and loving my little family! And sneaking in sewing and pattern design whenever I can 🙂