
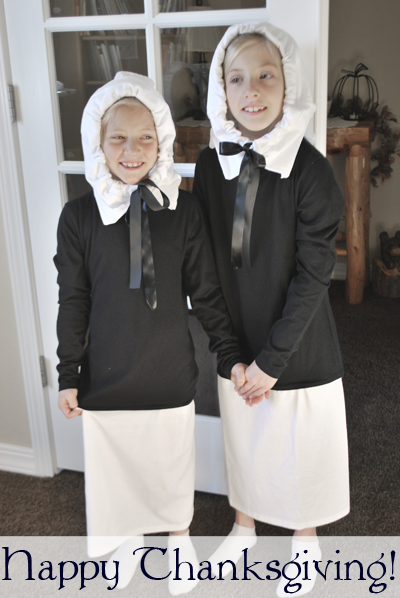
 Do you ever feel like you missed doing a Thanksgiving project because of time? You still have time to make these quick, cute Pilgrim dresses! I wanted the girls to have a quick dress-up for Thanksgiving, so I thought up something quick. It’s not too late! I made two pilgrim dresses, with bonnets in about an hour. I have advanced sewing skills, but the project is still easily an hour for a beginner.
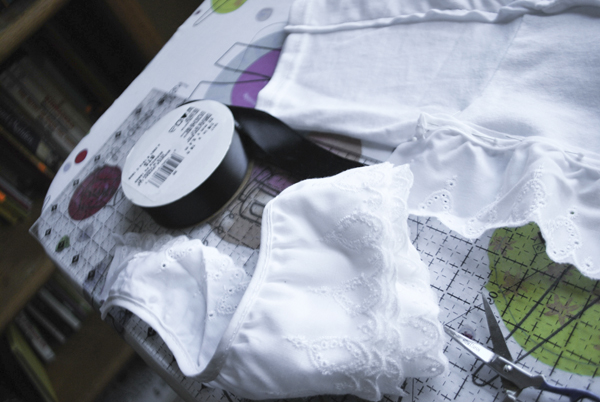
For this project, you’ll need per girl:
1 long-sleeved t-shirt – solid black – purchased in the girl’s size
1 short-sleeved t-shirt – solid white – purchased larger – I used adult t-shirts
1 roll 7/8″, 18 ft. Black Satin Ribbon (plenty for 2-3 bonnets)
2 yards 2″ White lace
Pins, ruler
White cotton thread
Black cotton thread
Iron/Sewing Machine
This dress is so simple. Here we go:
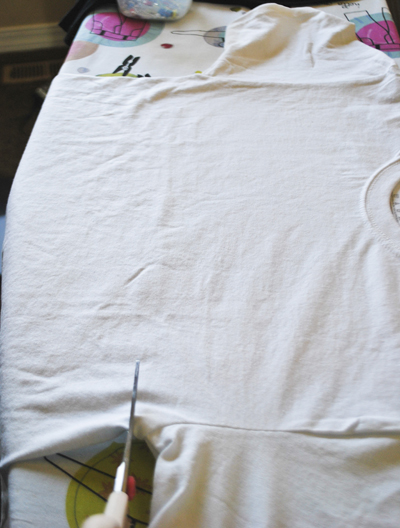
- First measure the length of the white t-shirt you will need as the skirt bottom. To do this, have your daughter put the black shirt on. Measure from the bottom of the shirt to the desired length. Mark UP from the bottom of the white t-shirt and mark. Use a chalk marker and ruler, chalk a line, and cut. In my case, I needed the whole bottom, so I just cut it slightly under the sleeves.
Lay aside the top part – this will be the bonnet! You are left with the bottom half – grab your long-sleeved shirt.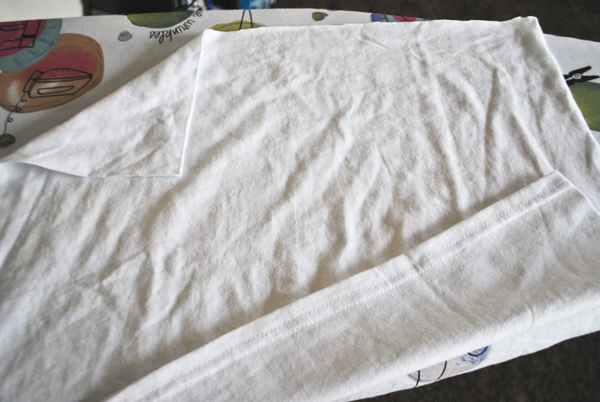
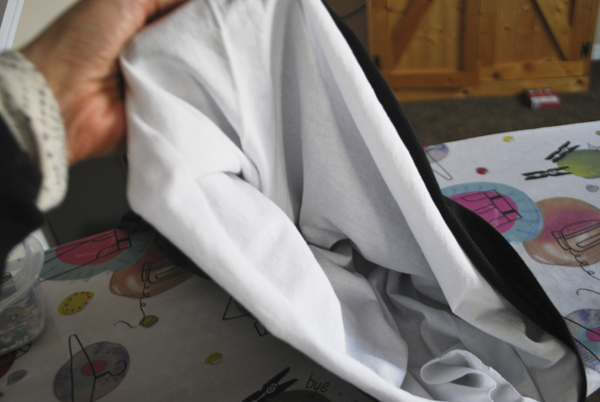
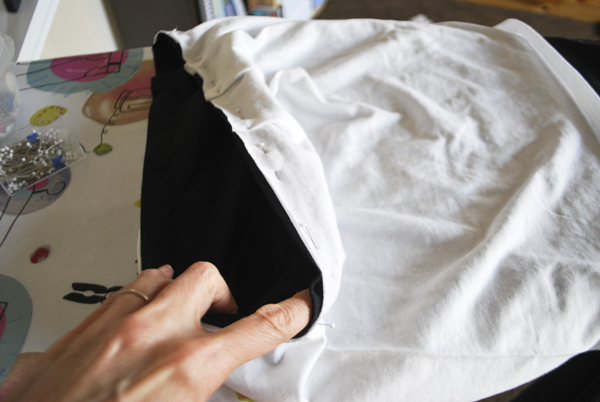
- There are a few ways to sew this onto your long-sleeved shirt, but this way makes pinning very easy. Turn this bottom part inside out. You will now insert this FINISHED SIDE UP through the bottom of the long-sleeved shirt. Match the raw edges of the white shirt to the finished part of the long-sleeved shirt.
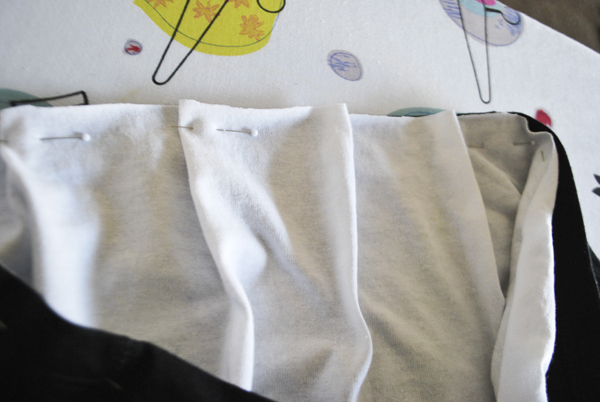
 Pin the edges in place, noting that if there is ‘too much’ shirt, finger pleat the excess and pin.
- Now, to sew – turn the whole thing inside out.
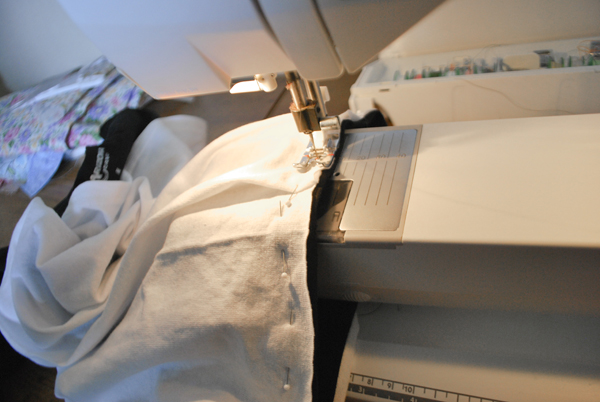
 The white shirt is now on the outside, pinned nicely and ready to sew. Take to the machine! There is no hemming when finished, as the finished edges are at the bottom when sewn. Easy hems!
 - Using black thread, (needle and bobbin), sew a 1/2″ seam all the way around. Don’t forget to backstitch at the beginning and the end of stitching.
Turn the dress right side out. Iron the black shirt down to press the seam in place. Can you believe it’s done? There wasn’t much to get a cute dress out of two shirts!
[Thread tip: True black thread breaks easy because of the heavy dye. If you have this issue, use a dark blue, or dark gray, works every time.]
The Bonnet
This bonnet was thought up in a matter of minutes because I hated throwing out part of the shirt. First, if you didn’t cut up to the sleeves for the skirt measurement, cut up to the sleeves now. Discard the scrap.
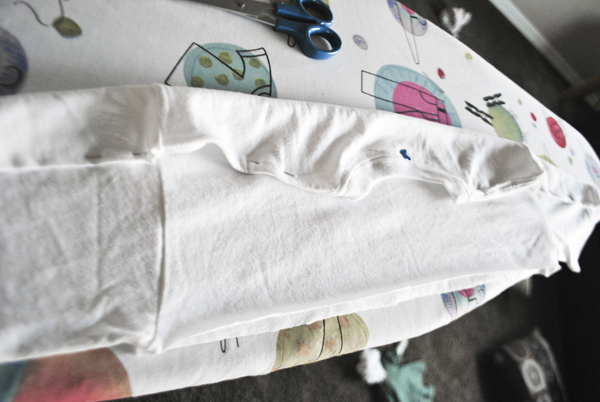
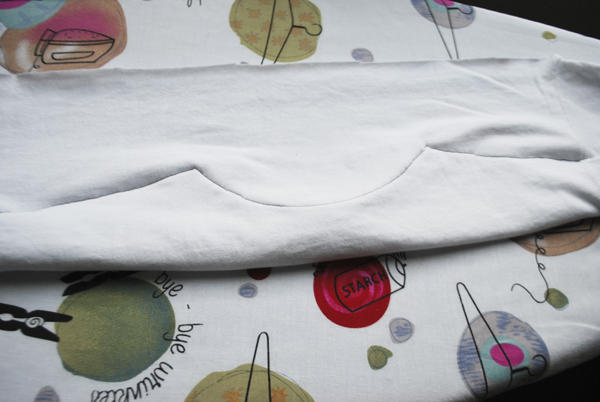
- We are going to make a quick casing for the satin ribbon. The sleeves serve as cute little flaps on the sides. So fold down as shown. You’ll fold so the neck is below the top of the sleeves, sleeve tops are folded down about 2″ or so, remember the ribbon is 7/8″. Pin in place and take to the machine.
- Use white or black thread and sew a seam following the seam of the shirt, around the neckline to the other side.
 I used black. 🙂
 - Now, turn over to the wrong side. You are going to add the lace to the raw edge of the bonnet. I didn’t cut a piece of lace, I left it uncut, then cut it when I got to the edge, just leaving enough to fold in so there wasn’t a raw edge hanging off.
Fold the raw edge of the bonnet up 1/2″ and iron. Lay the lace at the starting edge, folding in 1/4″ of the lace, and pin. Carefully pin all the way across, cutting and making another small fold to end. Take to the machine!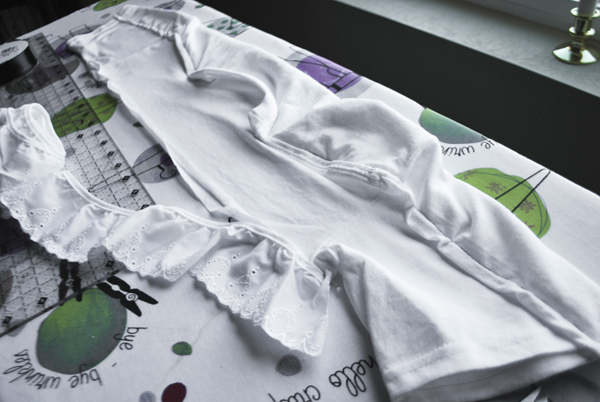
 Carefully sew with white thread, carefully removing pins as you come to them. Go slow so your lace doesn’t slip off the shirt.
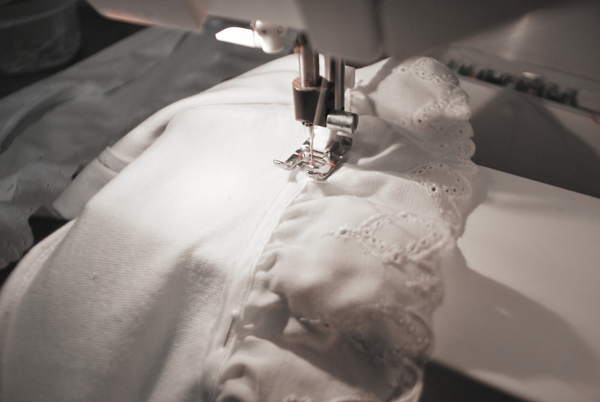
- Add your ribbon! Use a safety pin for a guide along the edge of the ribbon and start to feed through the casing. You want about 8″ on each side when pulled through. You can either leave the ribbon so you have to pull up and tighten each time, OR you can pull it up on both sides to fit her head, and sew the ribbon in place.
As this was a last-minute idea, I didn’t post every picture I took. Please comment with any questions! I’m happy to help you figure out the project if you have trouble!