Fleecy Tea Time Ornaments
Good morning everyone!
Have you seen the subscriber special? Get some great gifts for subscribing!
Fleecy Tea Time Ornaments
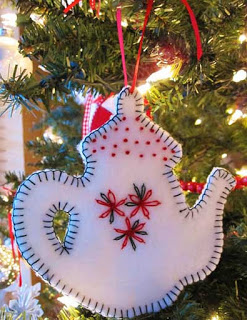
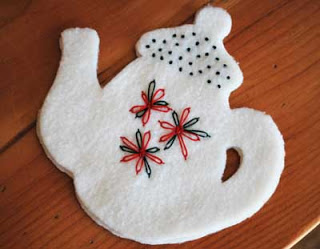
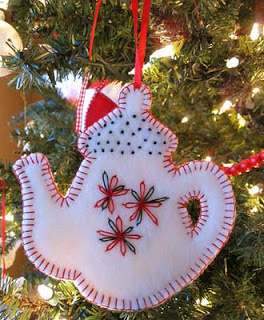
I love making ornaments out of fleece… they have such a fuzzy, homey look to them. Not to mention how simple they are to make and they always come out so pretty! This is a good ornament for your girls who are beginners with embroidery. You can embellish the ornaments with very basic embroidery stitches or just cut out the shapes and then blanket stitch two layers together all around the edges.
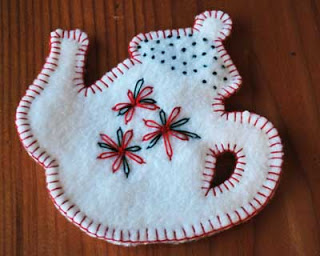
I chose to do a very simple Poinsettia flower design with Lazy Daisies and Colonial Knots. I’m not sure how close I came to a Poinsettia flower, but you can call them Christmas Flowers if you like!
First, you need a shape for the teapot template. You can use a variety of things for this. If you are artistic, you can draw one, but other options include: Tracing a tea pot shape from a book, a free one from the internet, a free coloring page on the internet, and cookie cutters are wonderful for ornament shapes!
Let’s start with cutting out the fabric. You do not need a lot of fleece for these! You need two layers for each ornament.
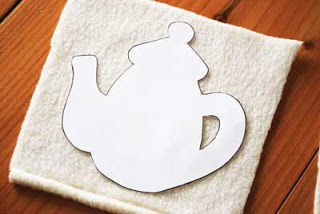
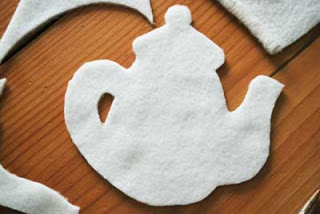
1. Trace your template design on plain white copy paper and cut out. Pin the template on to your fleece (another wonderful thing about fleece is it looks the same on both sides!) and cut it out with a small, sharp pair of scissors. I have found that our embroidery scissors are wonderful for cutting these out!
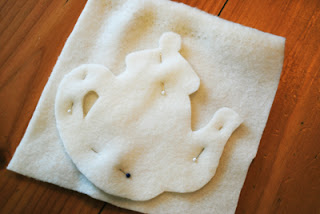
To cut out both layers so they are identical, lay the first fleece cut out on top of another layer of fleece, pin and then cut it out.
Ready for embroidery!
~~~~~~~~~~~~~~~~~~~~~~~~~~~~~~~~~~~~~~~~~~~~~~~
You only need to embroider one side of the ornament, but there is no rule saying that you can’t do both sides if you like. I used a size 5 embroidery needle and DMC embroidery floss. Thread your needle with two strands of the thread and knot the end.
As I said before, I used a basic Lazy Daisy stitch and the Colonial Knot. Let’s start with the Colonial Knot!
As I said before, I used a basic Lazy Daisy stitch and the Colonial Knot. Let’s start with the Colonial Knot!
This is the best knot you could ever learn how to do. The first time I did this knot was the last time I ever even thought about using a French Knot. French Knots can be difficult to get right and are quick to come undone; this is very simple and comes out just about perfect every time! Practice on scrap fabric though before you begin on your ornament if you need to.
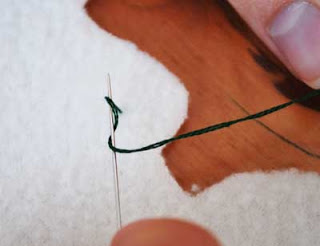
1. Come up from the back of the fabric to the front. Wrap the thread around the needle as shown: From the left over the needle to the right and then underneath the needle back to the left again.
2. Now from the left again, wrap the thread over the needle to the right and hold it there.
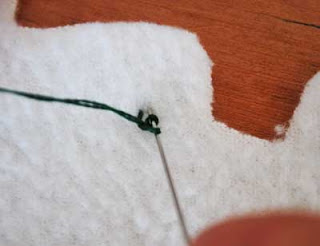
3. Insert the needle close to where you came up and begin pulling the thread snug to the needle.
4. Keep pulling until snug to the needle, but not so tight you can’t pull the needle through.
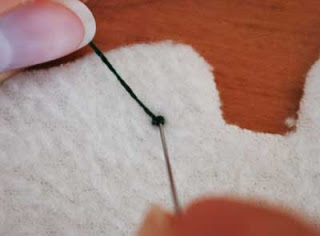
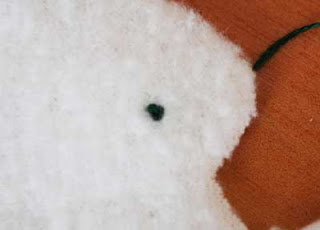
5. Pull the needle all the way through and watch the loop close down snugly to form your knot!
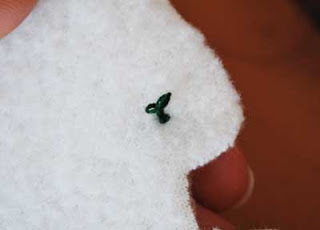
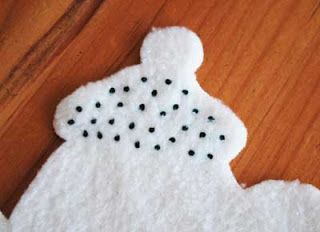
Finished! I covered the whole top of my ornament with knots, but you can do as many or as few as you like!
Now on to the flowers with the Lazy Daisy! This is usually one of the first embroidery stitches you will learn if you are a beginner and I’m sure a lot of you already know how to do this one.
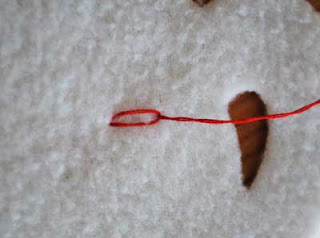
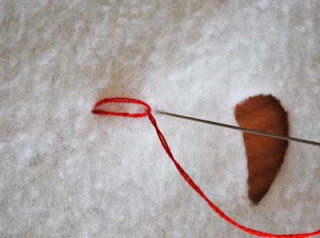
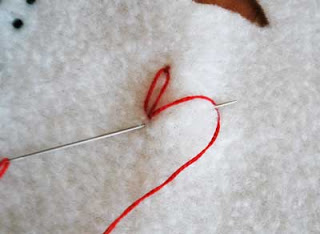
1. Come up from the back of the fleece to the front. Insert the needle again close to where you came up and run the needle under the fabric and bring back up a short distance from where you inserted it (however long you want the stitch, or in this case, petal to be). Loop the thread around the needle as shown.
Pull through until a loop is formed, but don’t pull too tight. Insert the needle at the front of the loop and pull through.
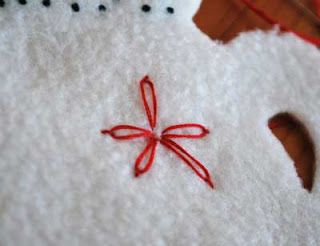
Bring the needle back up near the center of the flower and repeat the steps to from another petal.
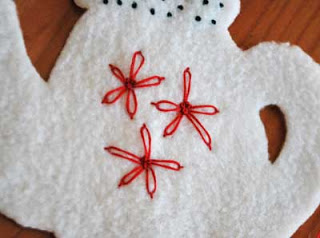
Stitch five petals and finish the flower with 3-4 Colonial Knots in the center.
Stitch three flowers, or more if you like!
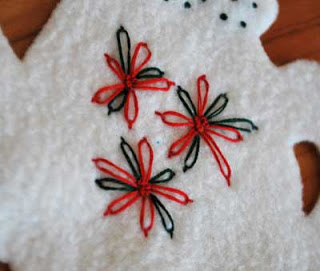
With green thread, come up close to each flower and use the Lazy Daisy stitch to add leaves all around the flowers.
Tie off all of the your threads neatly in the back. Now, put the two fleece layers together. You are ready to Blanket stitch them together!
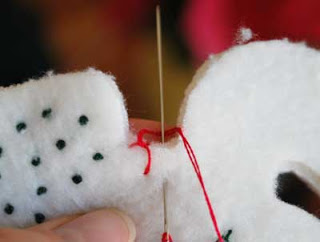
1. Thread and knot the needle the as you did before. Bring the needle up at the edge between the two layers (this will hide the knot).
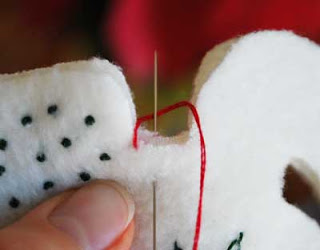
2. Insert the needle to the right of where you brought it up as about 1/4″ away from the edge and the thread looped around the needle as shown.
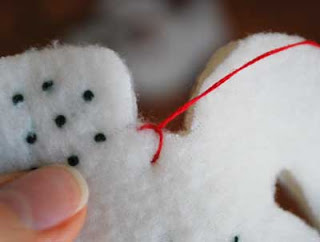
3. Pull through until snug but not too tight.
Insert the needle again to the right of the previous stitch and repeat all the way around the ornament.
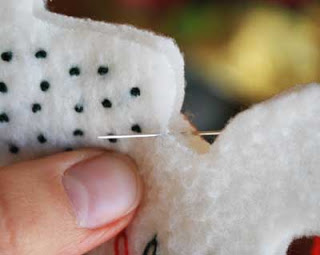
When you run out of thread, just take the needle down between the layers, but not all the way through. This will keep your knots hidden and not hanging out on the back. Start again the same way you first began. Go all the way around and don’t forget to stitch the inside of the handle.
To thread the top of the ornament with ribbon, you need a size 18 or 20 Chenille needle. Thread the needle with a few inches of silk ribbon (or a sheer Organza) ribbon and run it through the top of the ornament and pull through. Tie the ribbon into a bow, and hang on your tree! Quite lovely…
Have you seen our current special?







Cute idea! Thanks! Please enter me in today's drawing.
Stephanie
What a cute ornament, my girls would love to make these!
Very cute! Thank you for the very thorough step-by-step instructions! I would have had no clue where to begin, but I think I might just be able to do it now. 🙂
No PDFs on the projects, just the posts. Enjoy!
Such a cute ornament idea!