Free Motion Swirls Video Tutorial
In this post, I’m sharing how to make free motion swirls using a sewing machine. I was tired of the same old stippling, and stitch-in-the-ditch type quilting. Below is a 5-minute video on how to make free-motion swirls, first with practice, and then on a sewing machine.
This is not hard if you practice the free motion swirls on paper first. Once you get the hang of the motion, it’s quite easy to get to the machine and go for it.
Free motion quilting is usually done by dropping the feed and using an open-toe foot. By dropping the feed, the quilt will be ‘free’ to move and turn. In this tutorial, we drop the feed for free motion quilting.
Is free motion quilting possible without dropping the feed?
I have not tried free motion quilting without dropping the feed. However, if you want to try it, apparently, yes, free motion quilting is possible without dropping the feed, but I would investigate your machine and what its capabilities are.
Try setting your stitch length to zero and the feed dogs shouldn’t move. You should be able to freely move the fabric. Install a darning foot/quilting foot, and you should be good to get started with your free motion swirls.
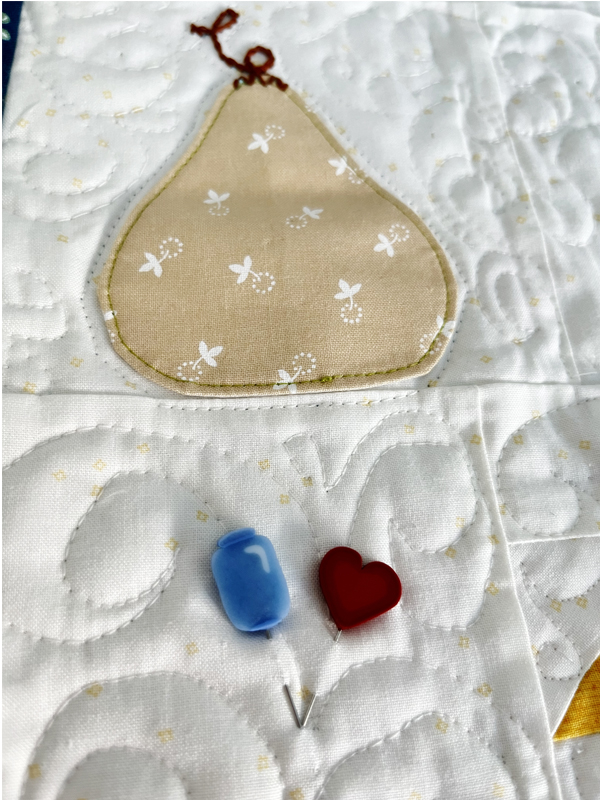
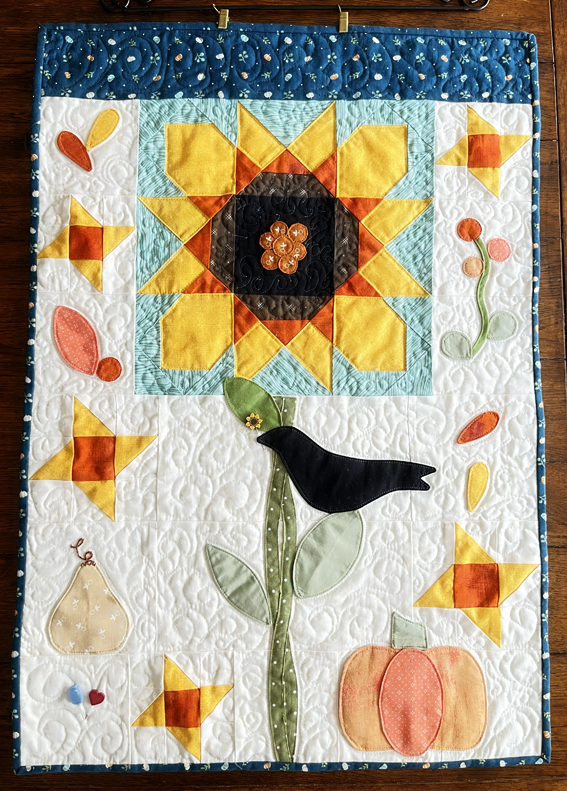
In the above photo is the Sunflower Harvest pattern that I just finished. The pattern has a lovely one color background. I think this was a bonus and made the quilting stand out. I used the free motion swirls for the first time on this quilt. The key is to stay within the quilt shape, stopping and starting when needed.
Practice on scrap fabric before you start on your quilt. I love how it came out, it gave it more of an autumn look and feel than I expected!
I used regular white cotton 50wt, Aurifil thread for my quilting. I usually match the thread to the background color. We sell a variety of colors at the shop, along with interfacing for applique.
Below is my hand-drawn diagram of swirls, step by step. Sit and practice on paper. Then try on scrap material lined with batting. Free motion swirls are a beginner-friendly quilting technique.
Practice one color below at a time, once it’s smooth, add another part to the swirl.
Another tip is not to panic when you’re quilting, it will slow or stop you from enjoying it. If you make a mistake, don’t worry, keep moving. Don’t stop and pick out quilting stitches unless it bothers you so badly that you wouldn’t hang it up.
Interested in more quilting videos? Try our beginner quilting videos here!
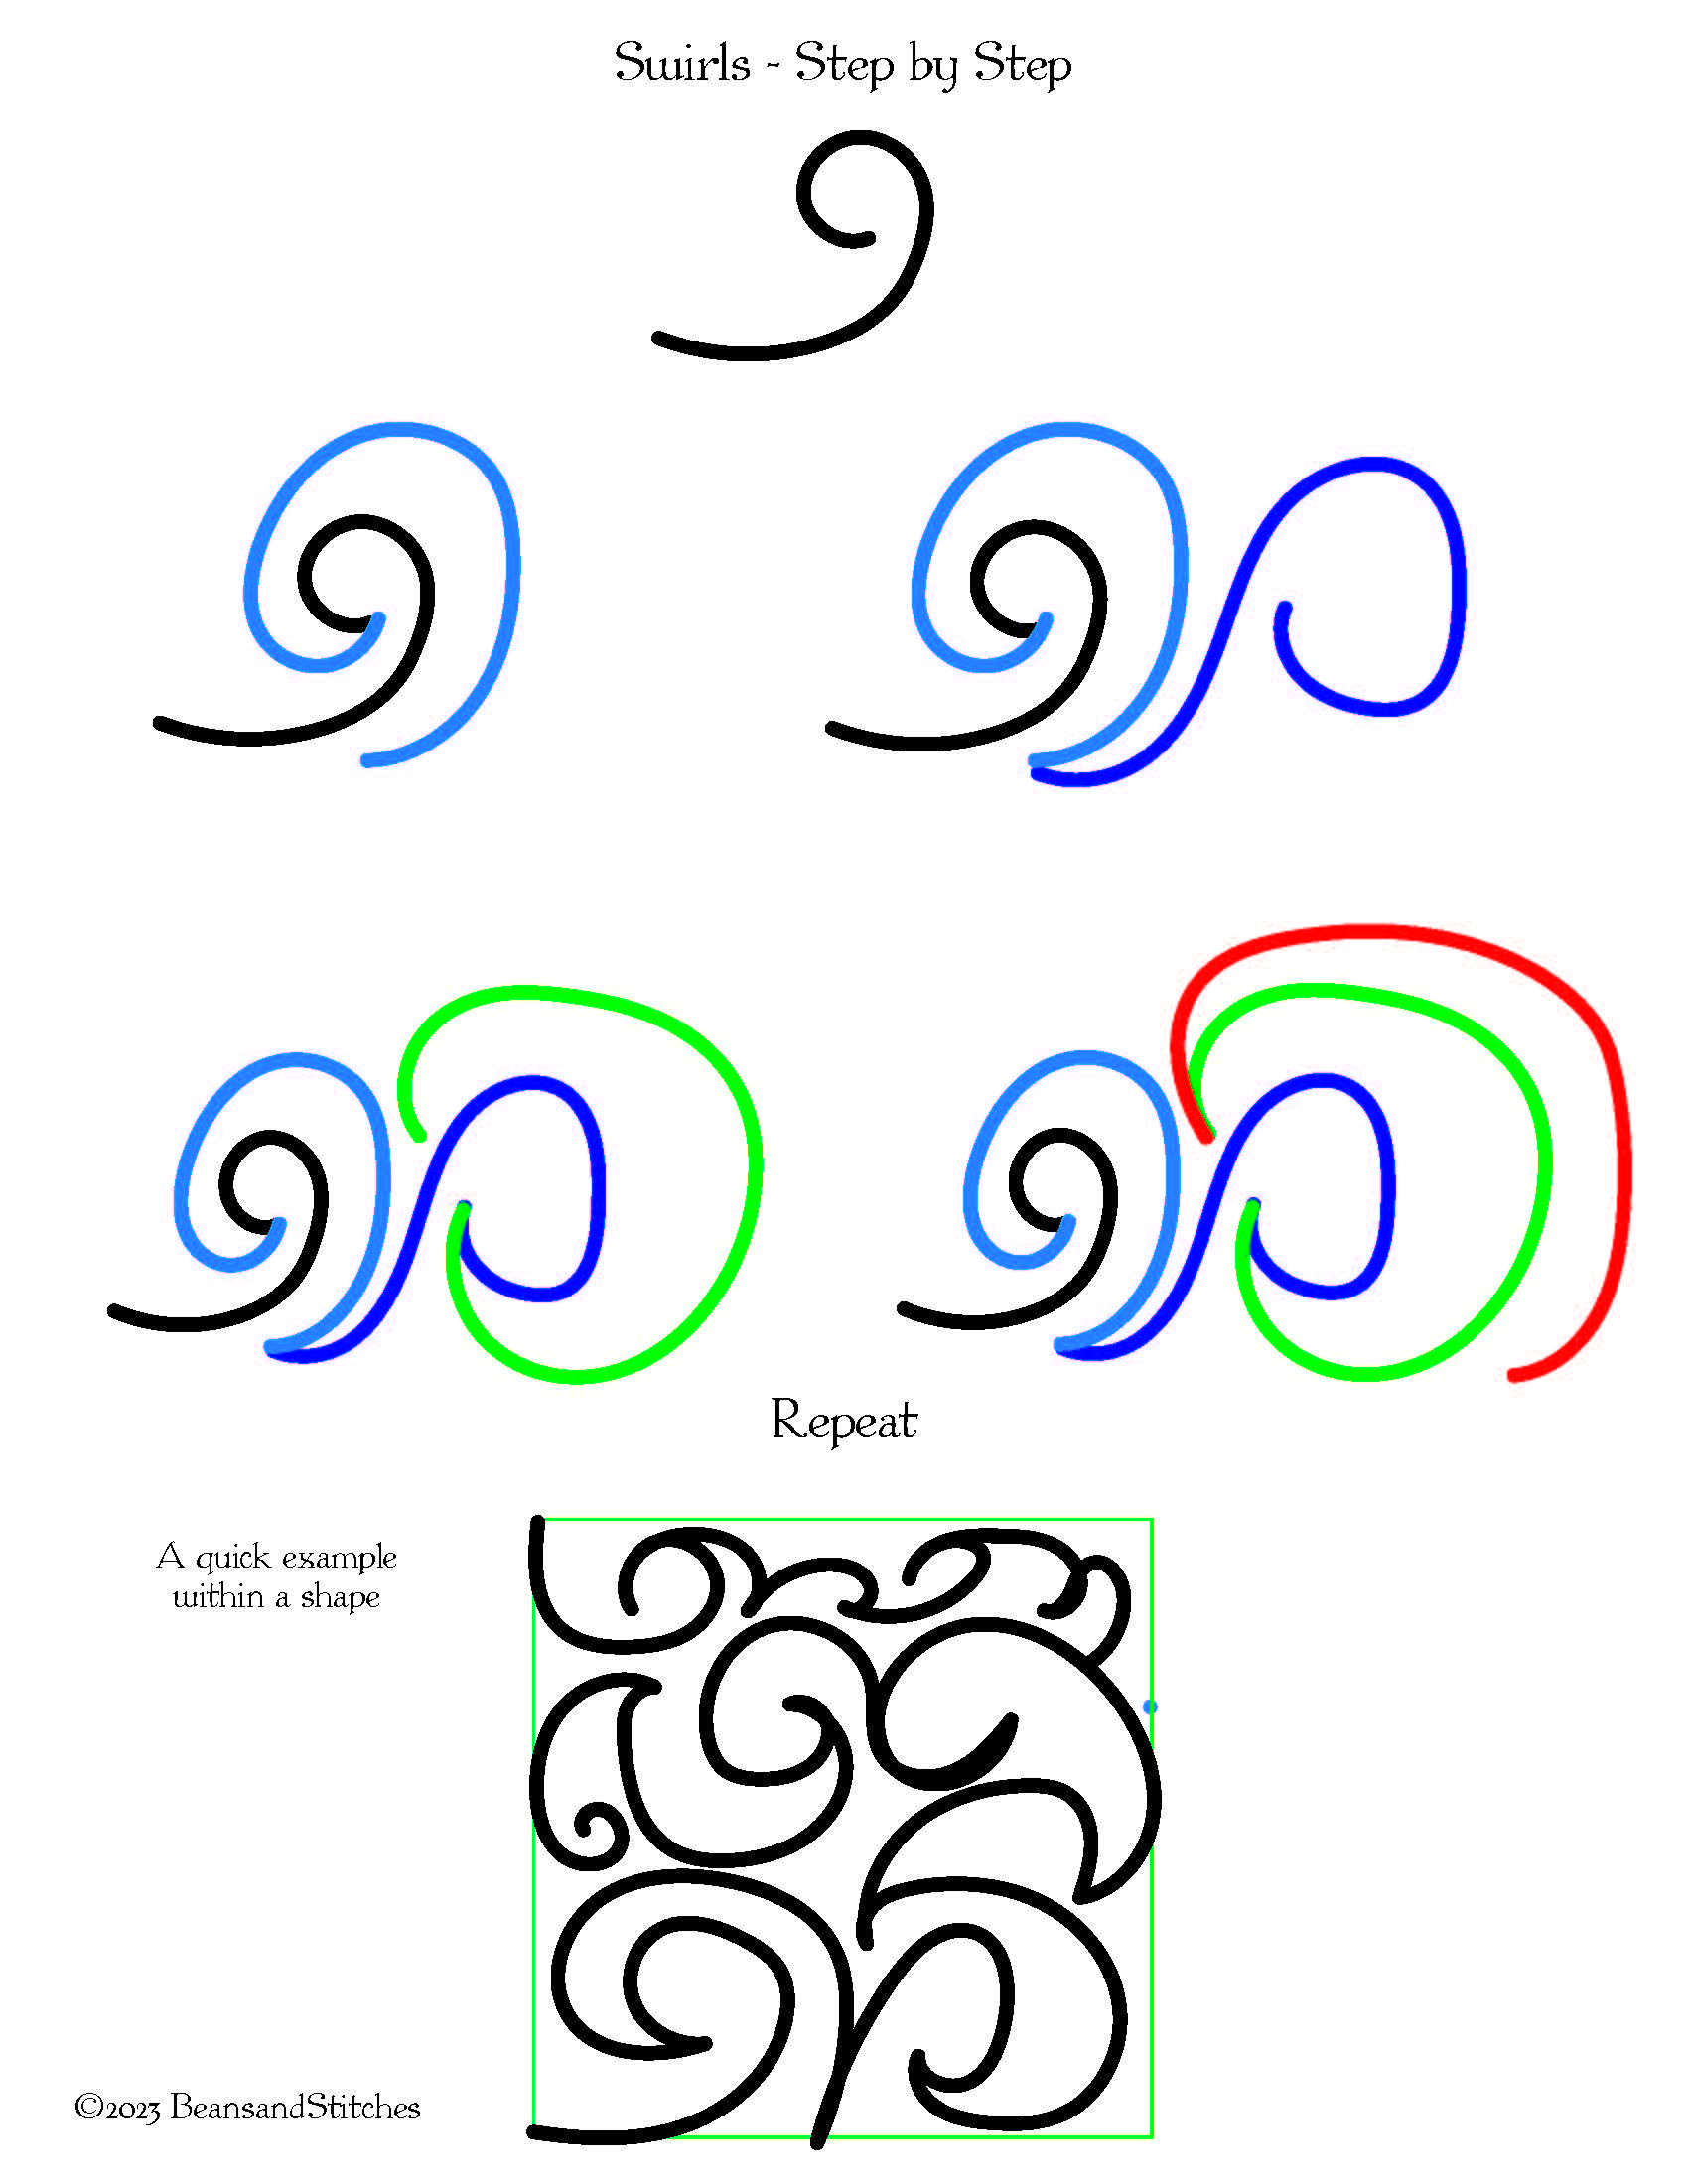
Remember to make odd shapes, not just squares or triangles. Free motion quilting is all about moving your quilt under the needle. Getting your motion down with a marker and paper first is the best way to get your hands to move in the direction you want. When you use scrap fabric for the practice, draw the shapes onto the fabric.
Another step I took was to stitch around the outside of the applique shapes. You can use a darker color for contrast, or matching if you’re still learning the This also made the free motion swirls within the shape open with design.
You’re welcome to print out the above image for personal use if it helps! I hope you can achieve a beautiful new look for your next quilt!
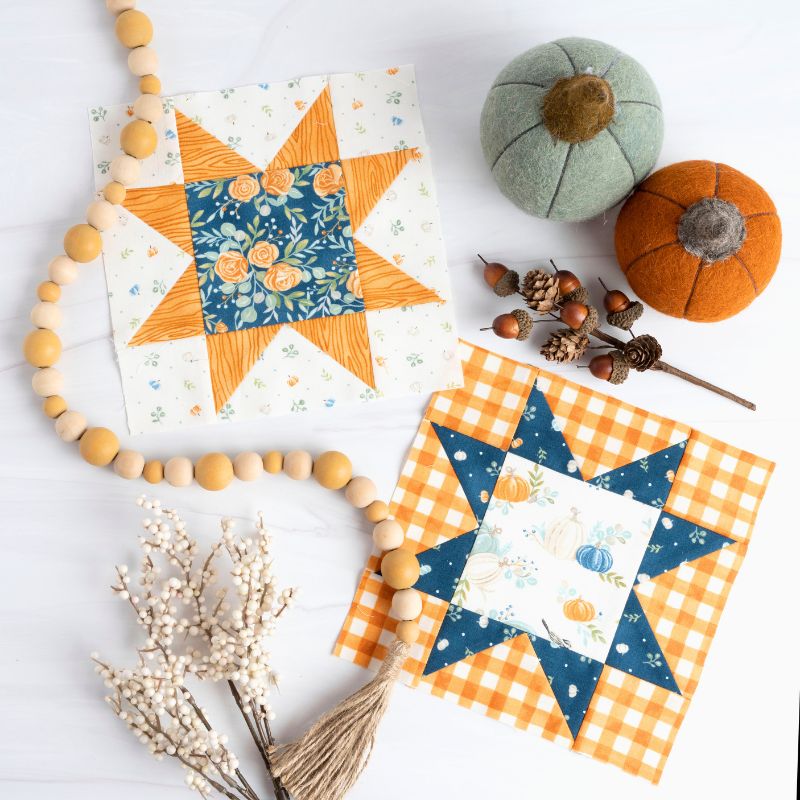
We have a variety of notions, fabric, and quilting tools at Beans and Stitches, our online fabric shop.
See our fall fabric collection from Moda Fabrics, Riley Blake Designs, and more at Beans and Stitches!
Happy sewing, Theresa


