
Try this easy project with your girls! They will have hours of fun playing dress-up! Harvest Dress Up, Make an Indian Dress was first featured in our Seasons at Home 2007 issue. These dresses are fairly fast to make and use pre-made t-shirts.
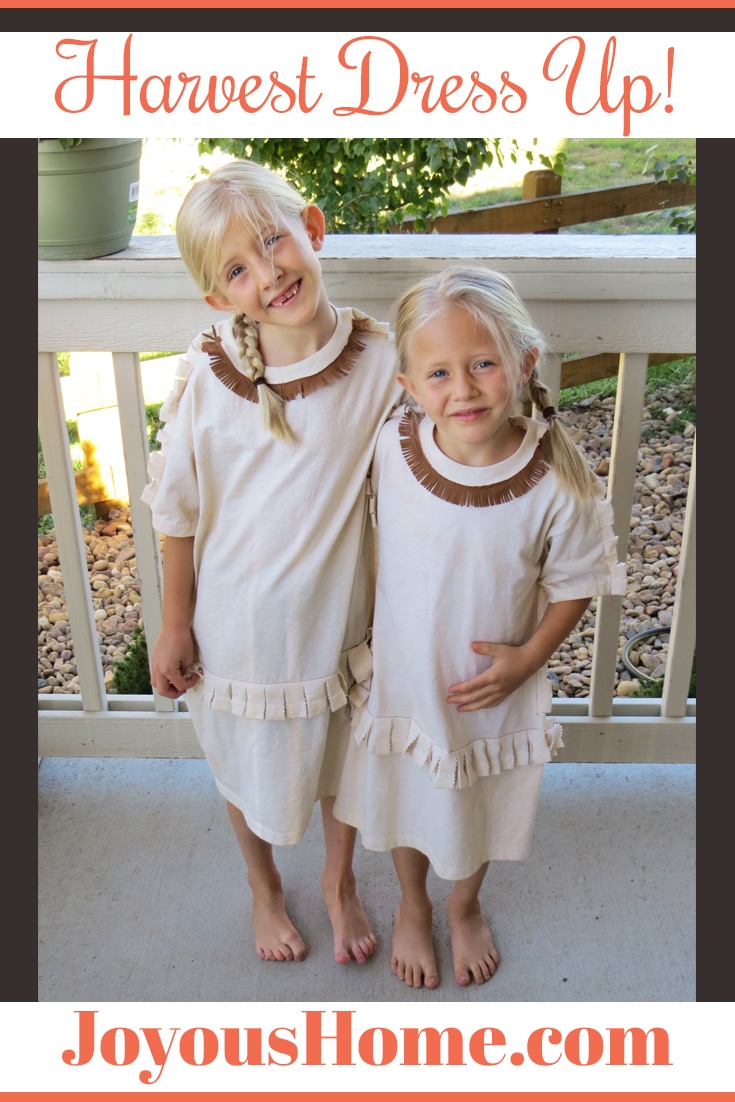
Harvest Dress Up – Make an Indian Dress!
Supplies and Instructions for Indian Dress
- 2 T-shirts per dress – one size bigger than their normal size, any color – or tea stain a white shirt
- fringe or trim (optional)
- Sewing machine, pinking shears, pins.
1. Put the first shirt on the girl and measure for the length. Add 3″ to this, and cut off that amount from the bottom of the second shirt. This is your dress bottom. (You can make a t-shirt dress from the discarded top! Just add a skirt!)
2. To attach the bottom, turn the cut piece inside out. Insert it into the bottom of the shirt, matching the raw edge with the finished edge of the t-shirt. Pinning is easier if you shake the two pieces together and get them to hang freely and then pin.


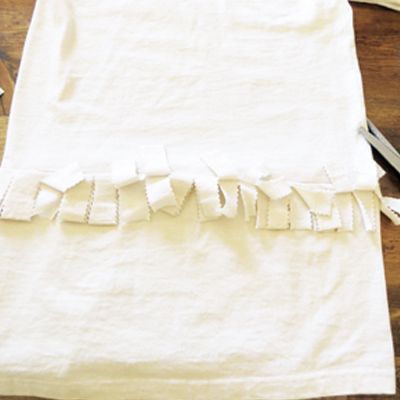
3. Attach, by sewing 3″ above the bottom, all the way around. This will give you some fabric to fringe for the middle!
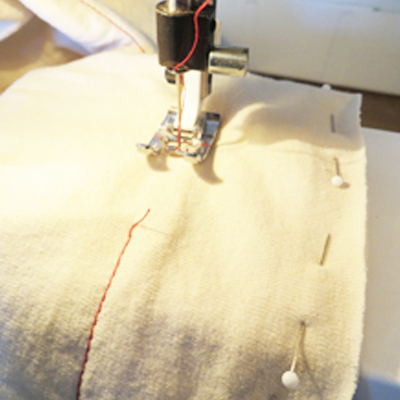

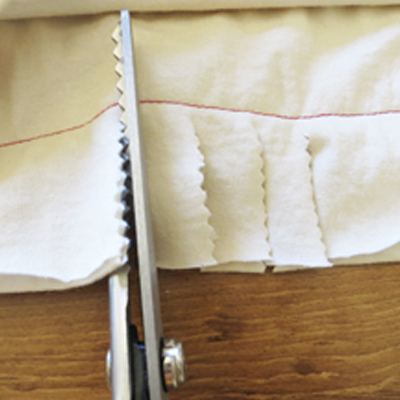
4. Before turning the bottom out, snip the ends with pinking shears for a fast look or regular scissors and toss in the dryer to ‘rag’ the ends.
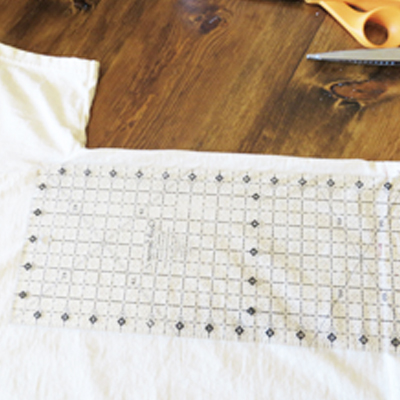
Mark in 1 1/2″ on the top from the sleeve to the neckline on each side. Mark the sides from under the arms to the thread where you attached the bottom. Do not go over the attached seam, stop and continue under the seam when sewing, so the fringes aren’t sewn down.
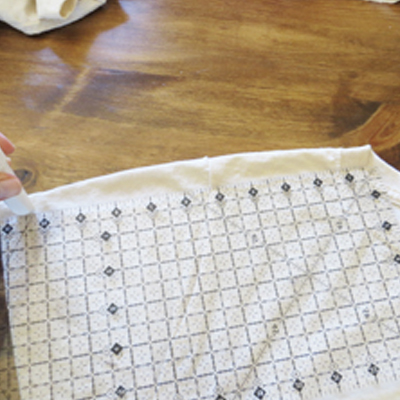
This is the top of the shirt. Mark from the sleeve to the neckline.
This is the side of the shirt. Mark under the sleeve down the side.
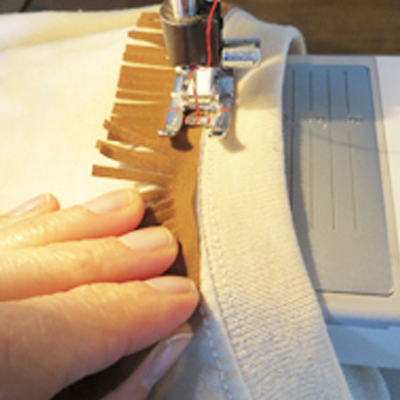
6. Sew the dress together at your marked lines. You don’t really need to mark it, you can just follow your sewing machine markings.
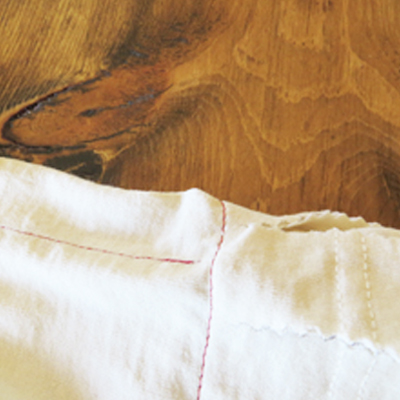
See how I stopped sewing right before the seam for the attached bottom?
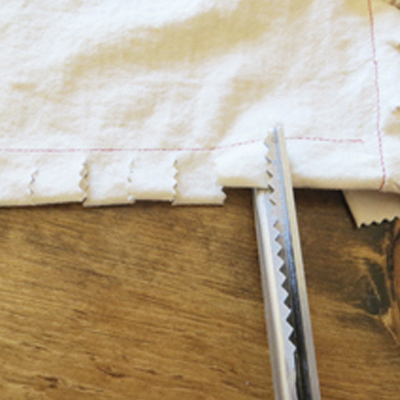
Now do the same as you did for the middle – fringe all the way around but do not cut your seam lines! Now, you can easily add a piece of trim to the collar.


