How to Hand Embroider on a Card
I’m not great at making pretty paper cards. Paper crafting isn’t really a gift of mine. But I like pretty cards! I decided to try embroidering cards, and found it’s not too hard, and definitely pretty. You can’t hand embroider quite the same as you would on fabric, so here’s how to hand embroider on a paper card.
How to Hand Embroider on a Card
Supplies:
- Sturdy blank cards
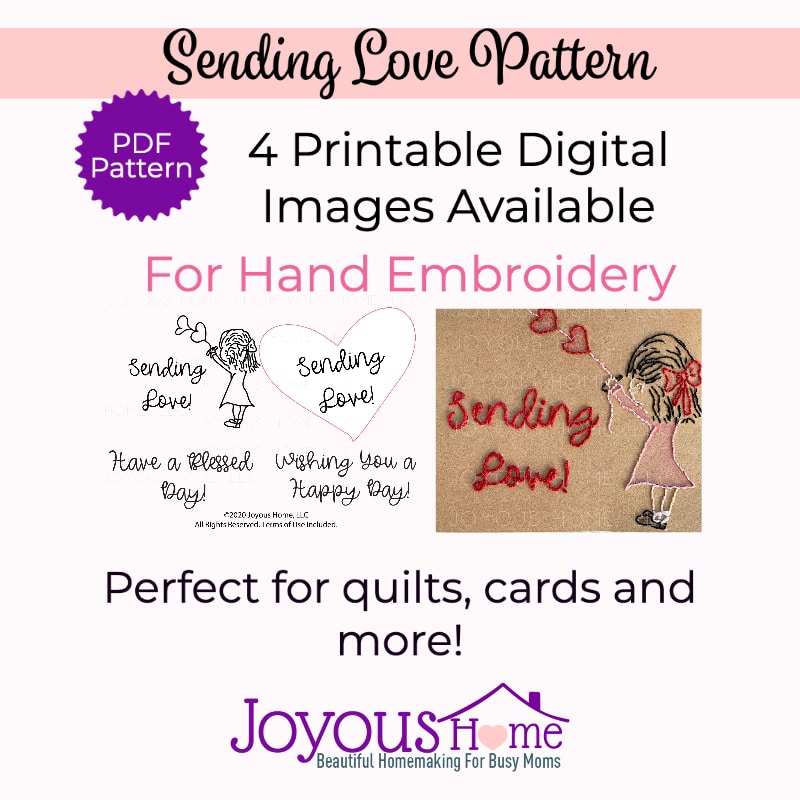
- Design for card – Sending Love Embroidery Design Plus Heart Design & Lettering ($2.99!)
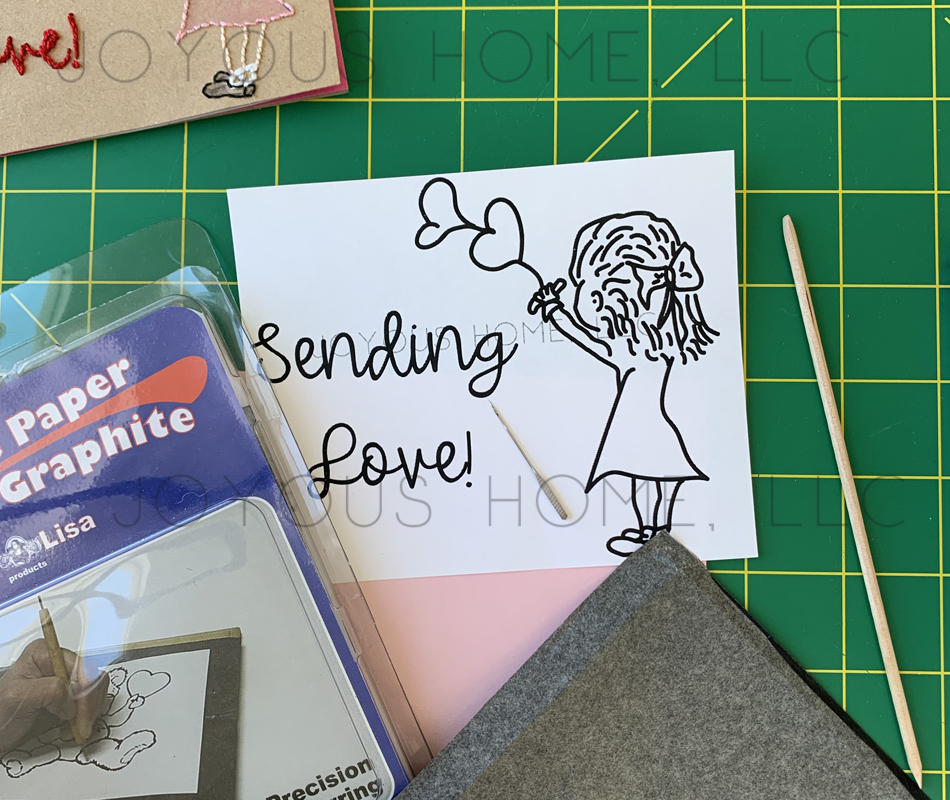
- Graphite Paper
- Pearl Cotton #8 or embroidery floss – 3 strands
- Embroidery needle
- Sewing machine needle (to make holes in the card)
- Double-sided tape (optional)
Print and cut your design and graphite transfer paper to fit the card size.
Transfer Embroidery Design to Card
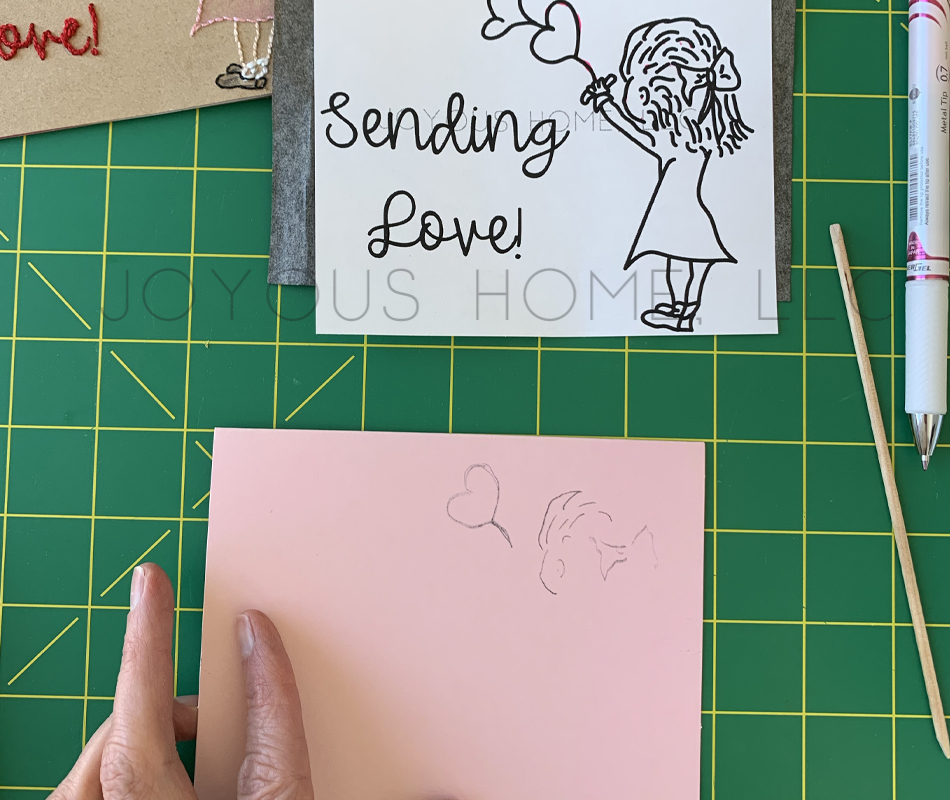
Tape the design on top of the graphite paper (graphite paper dark side down). You can lightly tape these to the card front. Simply trace the design to the card.
Here’s a video on using graphite paper to transfer an embroidery design to a card:
The graphite marks can be erased if you make a mistake.
I didn’t tape anything. I just asked for no interruptions while I was transferring!
Prepare Card for Embroidery
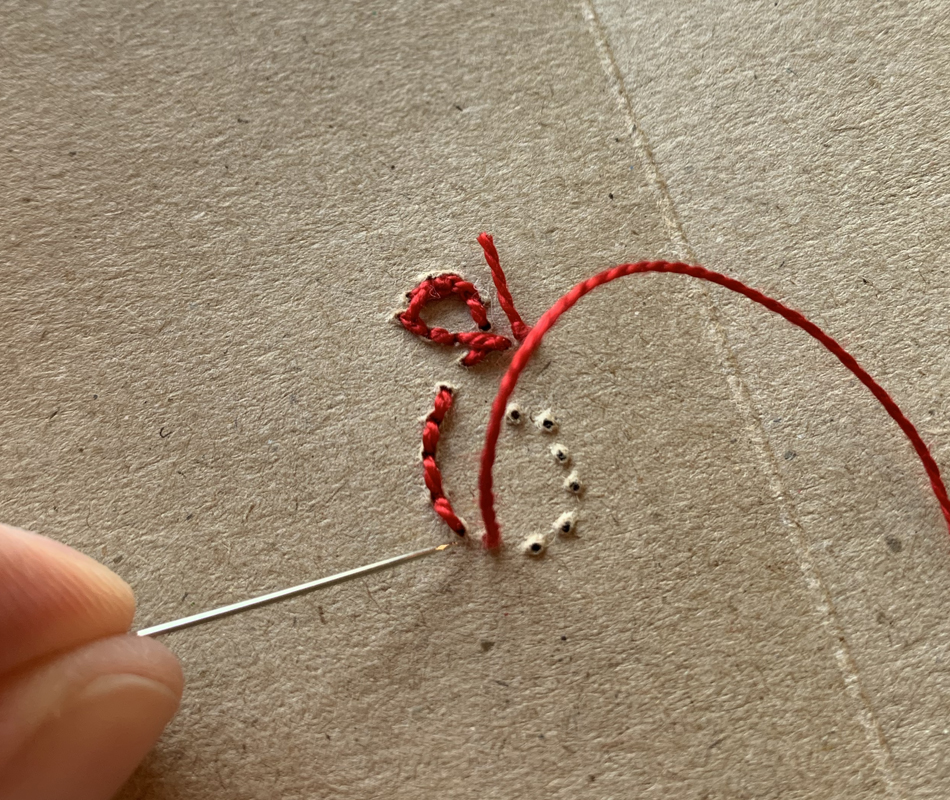
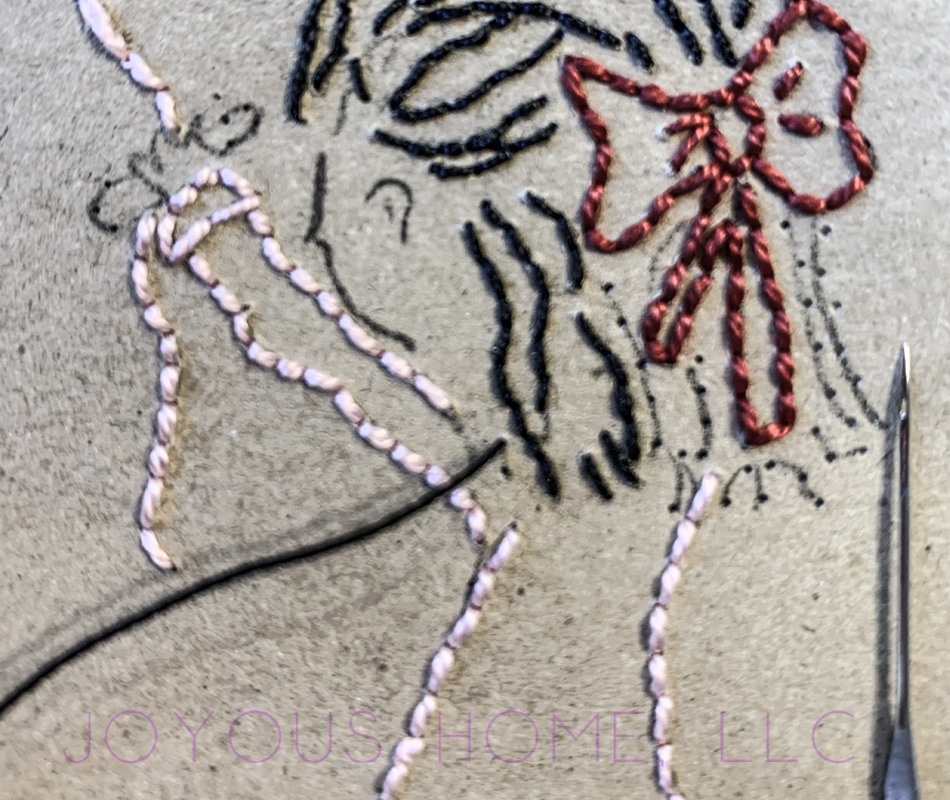
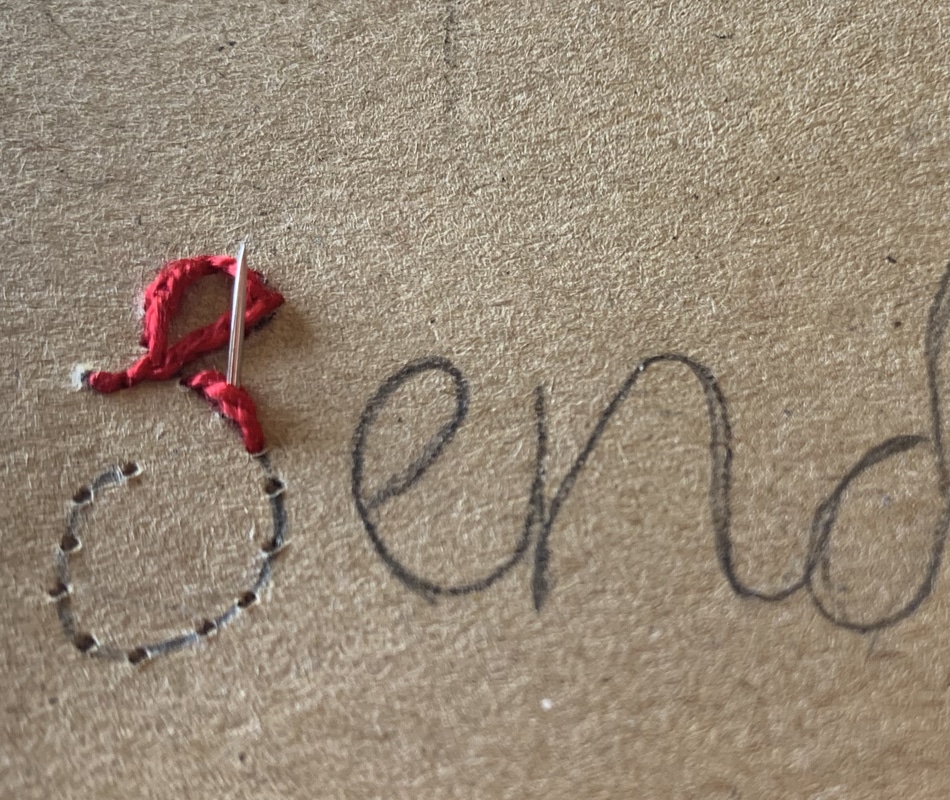
Using your sewing machine needle, poke holes in the card over the design area. I think 1/8″ apart is fine. You’ll be using the backstitch for the design, and the split stitch for the lettering.
You’ll need to prepare the card for embroidery using your sewing machine needle. This is simply poking holes in the embroidery design.
Here’s a video on how to prepare a card for embroidery:
Embroidery Backstitch to a Card
The backstitch for embroidery is one of the very basic stitches and creates a lovely outline. Make sure the holes are evenly spaced.
The Backstitch:
Count the first three stitches (holes) as A, B, and C. With knotted thread, come up at A, go down at B. Emerge at C, go down at B. Start stitching at a point where you can flow evenly through the design.
Here’s a video on how to backstitch on a card:
Slipstitch Embroidery on a Card
I used the slipstitch for the lettering design on this card. Again using A, B and C for your stitches, with knotted thread, come up at A, go down at C and come up at B, splitting the stitch.
Here’s a video on how to slipstitch lettering to embroider a card:
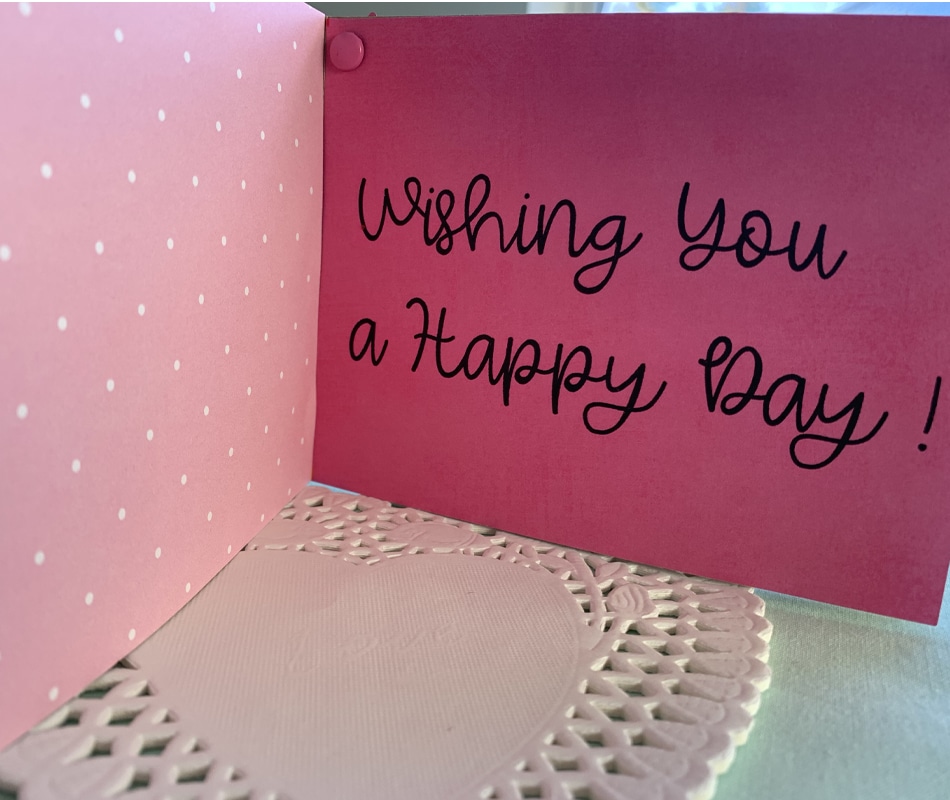
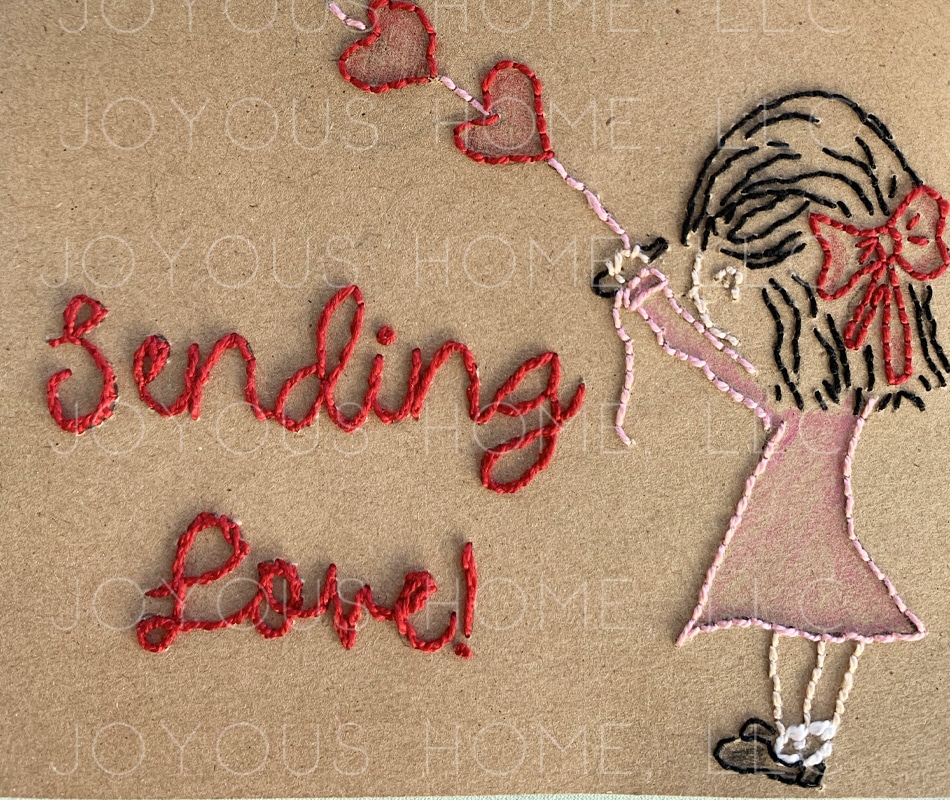
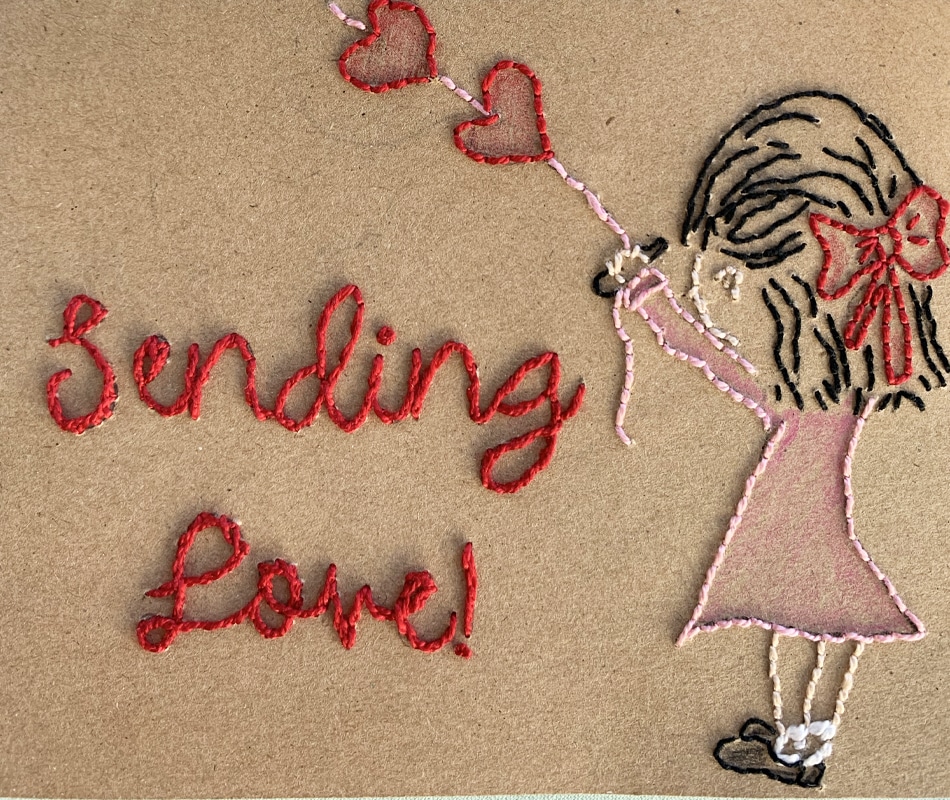
The finished stitched and printed card is quite pretty. Cut your scrapbooking paper to fit, and using double-sided tape cover the stitches. Print out a message for the other side on solid scrapbooking paper. Maybe tape candy inside the letter. This is a perfect little paper craft! Our digital pattern has everything you need to design a card, or use for other embroidery!
I hope you enjoyed this idea for pretty card making! If you don’t want to make your own design, you can purchase our Sending Love Embroidery Pattern for only $2.99. It contains a heart, and our little Mary-Lou with the heart kite, plus two more phrases for the inside. 300 dpi for print, 5.25″ x 4.25″. There are no watermarks on the purchased designs.
https://www.joyoushome.com/product/seasons-at-home-magazine-bundle-3/
https://www.joyoushome.com/product/home-sweet-home-embroidery-pattern/


