How to Pin in the Ditch to Stitch in the Ditch on Top
When sewing a sleeve or neckband to a garment, you may see the instructions to pin in the ditch. This technique is really handy so don’t ignore it like I did the first few times!
When putting a band on a sleeve, we want the finished sleeve to be as pretty as possible. Top stitching the band in place is easy when you know how to pin the band correctly.
First, sew your band to the sleeve.
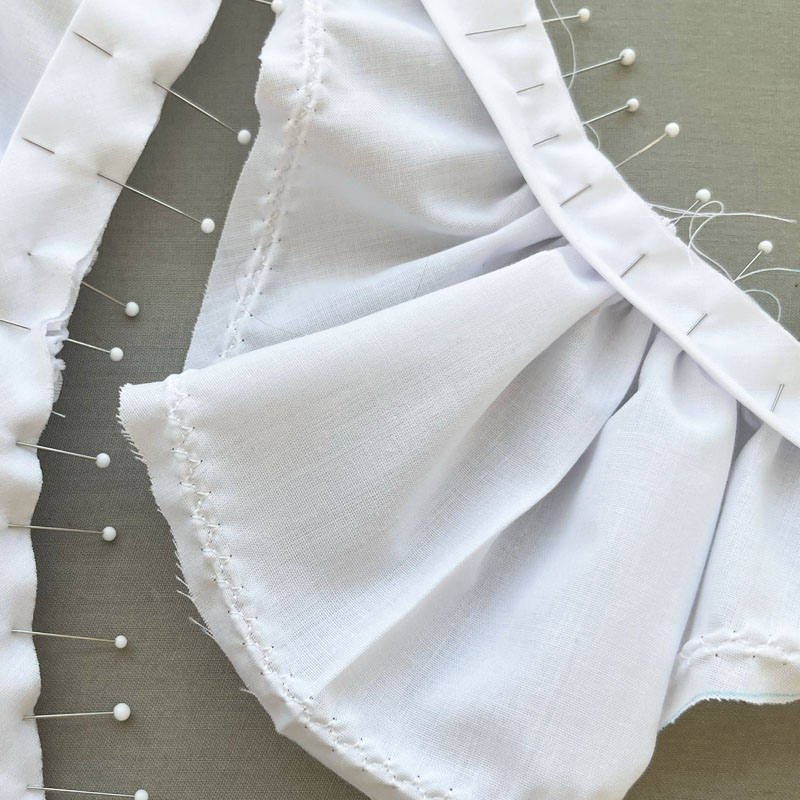
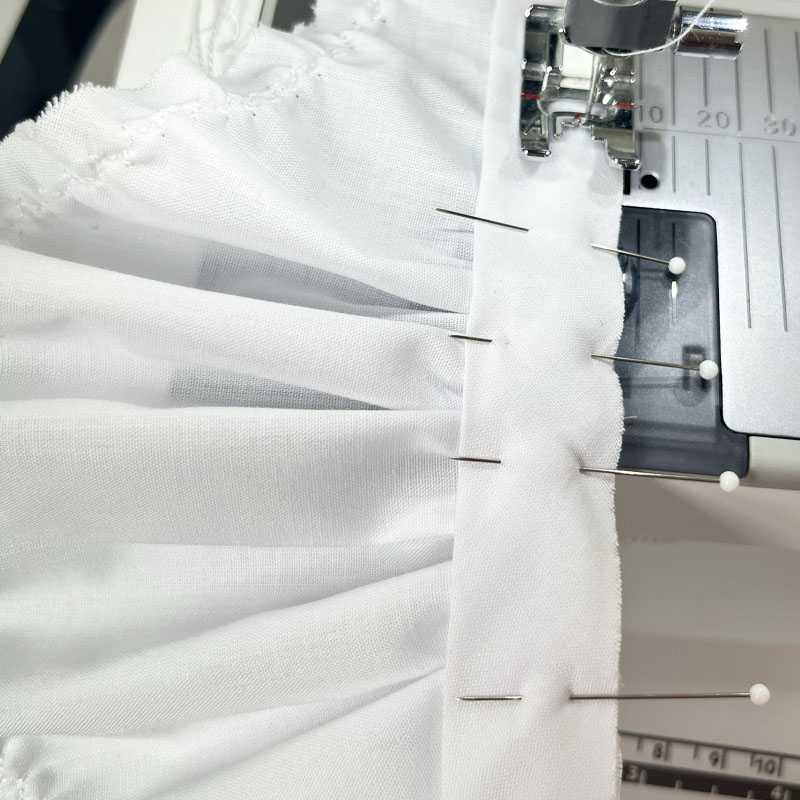
Press the band up on the front after sewing it to the sleeve.
The band strip (shown sticking out underneath) is flipped over and pressed to the inside. The reason to ‘pin in the ditch’ is so you can top stitch or ‘stitch in the ditch’ from the front, and not miss covering the seam in the back.
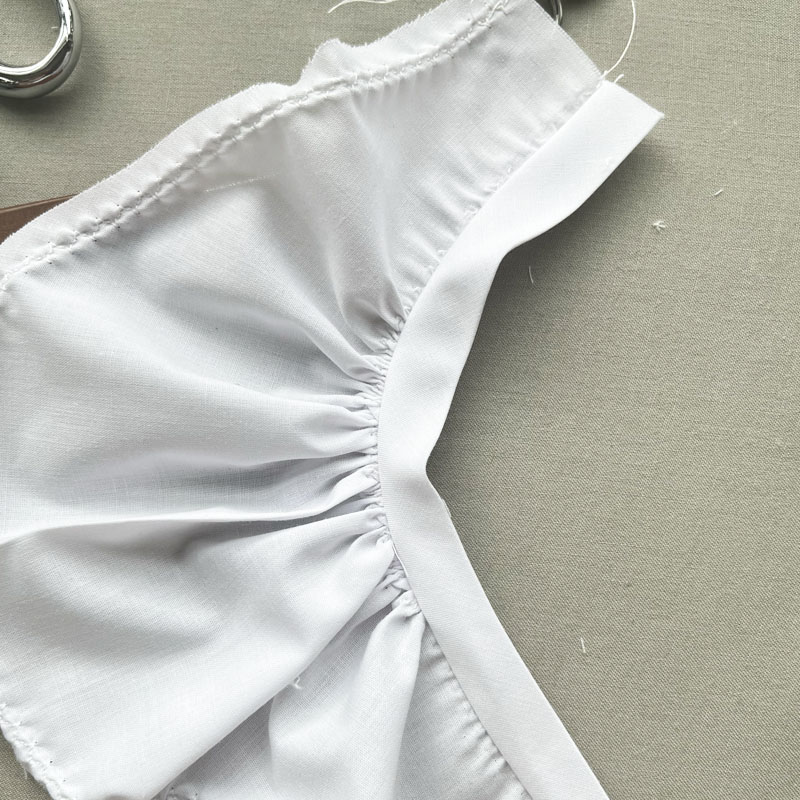
Watch the video below to learn how to use this technique!
Holding the band in the back with your finger over the seam, pin in the seamline on the front (in the ditch).
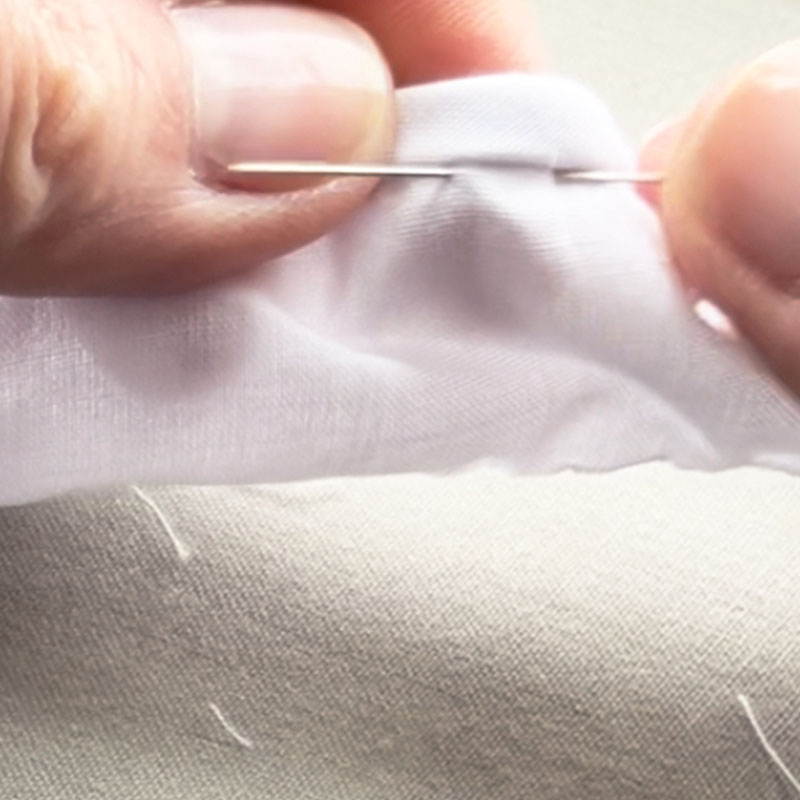
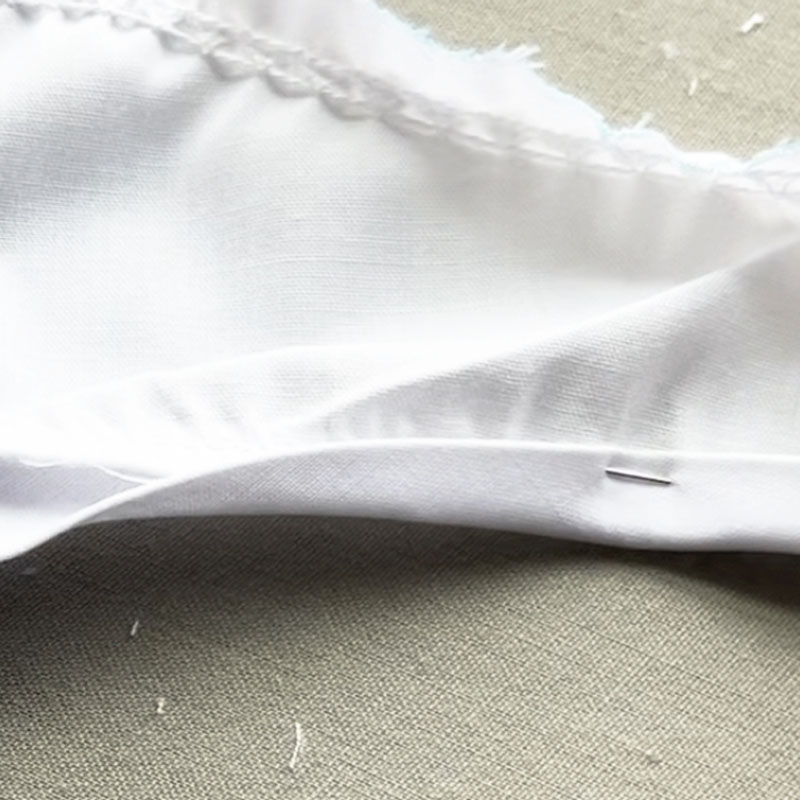
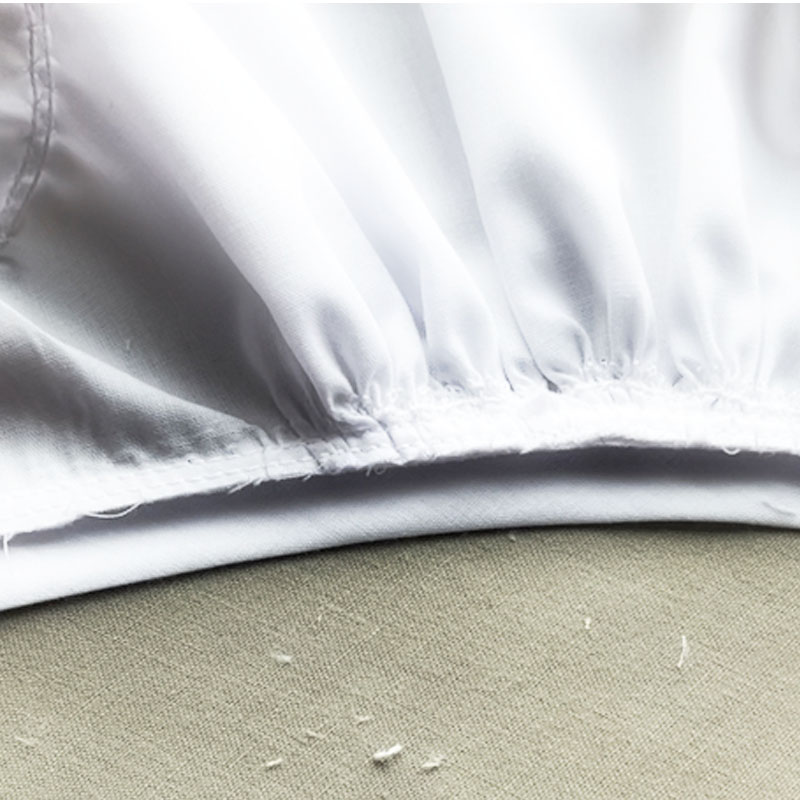
Check the back as you pin. The band should cover the seam with the pin having a bit of the band underneath it. This ensures that when you stitch on top, it catches the sleeve band.
Stitch on top right under the seam.

All done! I hope this short tutorial was helpful!
Theresa


