How to Make Whole Wheat Bread
If you’d like to save money and start ditching store-bought bread, homemade whole-wheat bread is a good option. But is it possible to make a tasty whole-wheat bread at home? Yes, it’s possible! Ingredients and the technique will help achieve a wonderful bread your family will love. Follow step by step in How to Make Whole Wheat Bread.
This post may contain affiliate links. Read my disclosure here.
How to Make Whole Wheat Bread
Types of Wheat For Homemade Bread
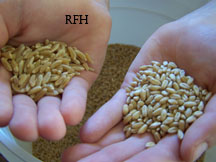
Hard White Wheat – Occasionally this is referred to as “white whole-wheat”. This is our choice for our wheat bread recipe. Prairie Gold is one brand from Montana Flour that is perfect for making bread. Being hard white, it’s a high-gluten flour and will produce a whiter loaf.
Hard Red Wheat – Produces a darker, denser bread. A good brand has 15% to 16% protein. However, this type of wheat is usually not preferred for bread making.
Wheat bread made with freshly ground flour is healthier than store-bought wheat bread as it contains every part of the wheat kernel, including the wonderful germ oil, which is removed from store-bought flour. This also makes it much healthier than its white bread counterpart.
Bosch Mixers for Making Bread
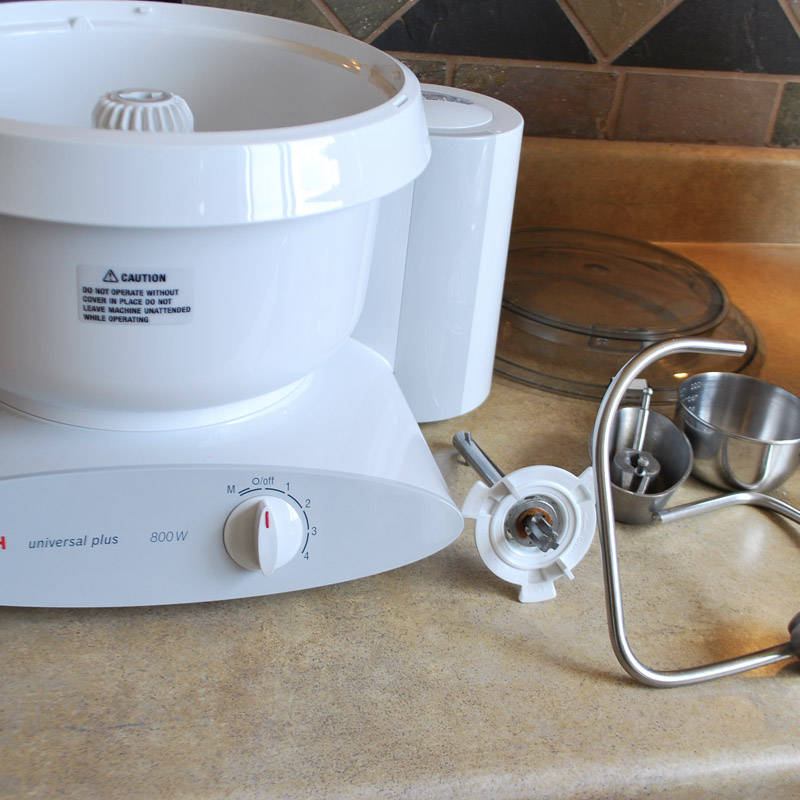
We are using a Bosch Mixer for this tutorial. The Bosch is an affordable choice for heavy-duty bread making. I give comprehensive information about this mixer, mills, grains, and pressure cooking in our book, Baby’s First Foods, A Mother’s Guide to Whole Grains and Family Nourishment.
Nutrimill for Milling Wheat
Mill Whole Wheat – Nutrimill
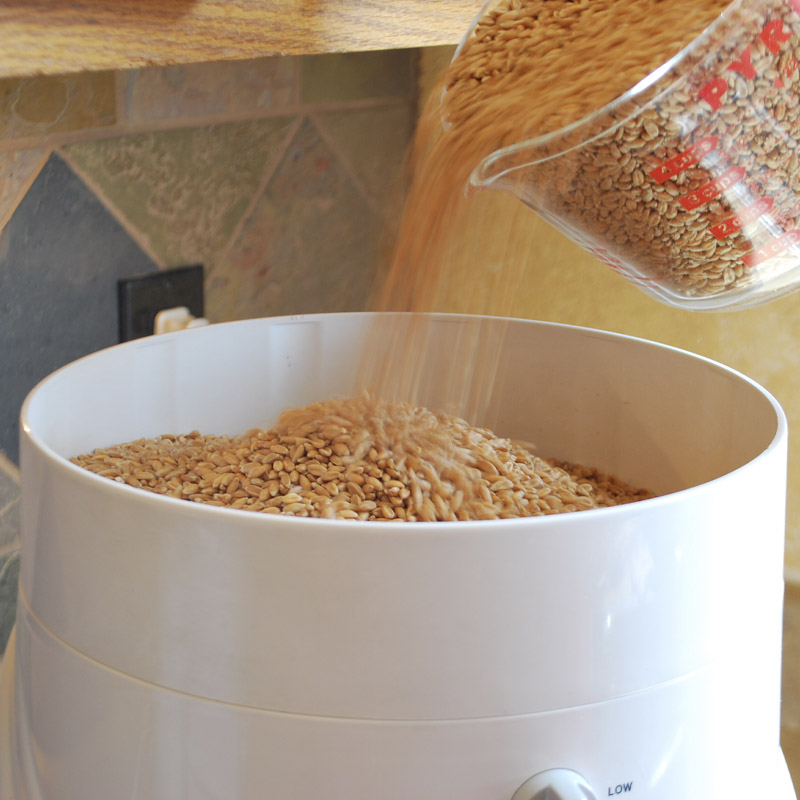
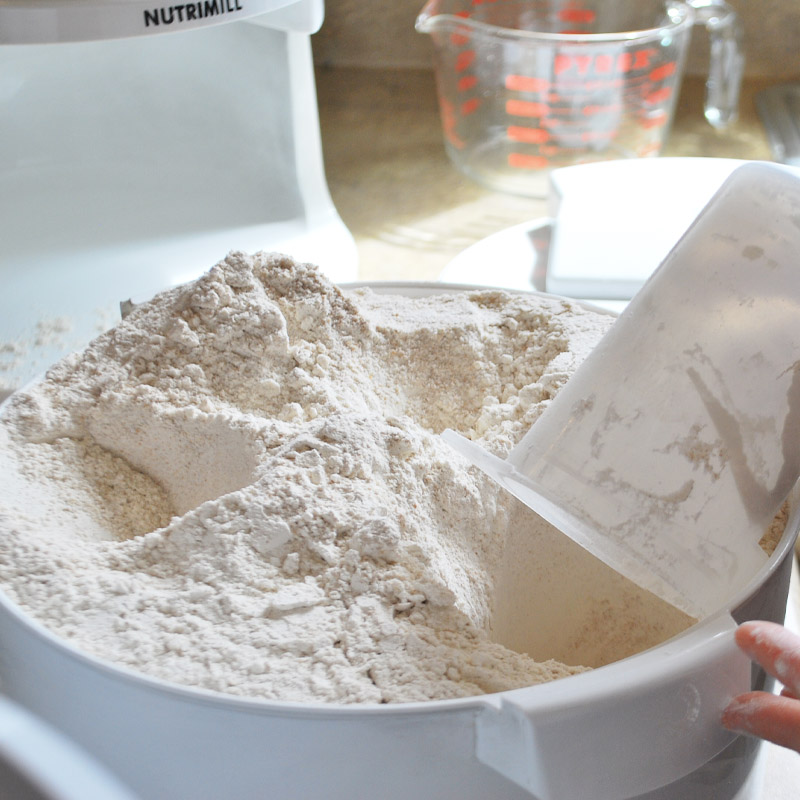
Mill a hopper of hard white wheat or Spelt in your grain mill. Spray 4 or 5, 8″ to 10″ bread pans and set aside. (Norpro bread pans are used in this tutorial.)
Start a Whole Wheat Bread Sponge
Sponging your dough before adding all of the wheat flour will give a finer crumb and smoother texture to your finished bread. It also eliminates the need for a second rise, if desired.
Add Water and Dough Enhancer
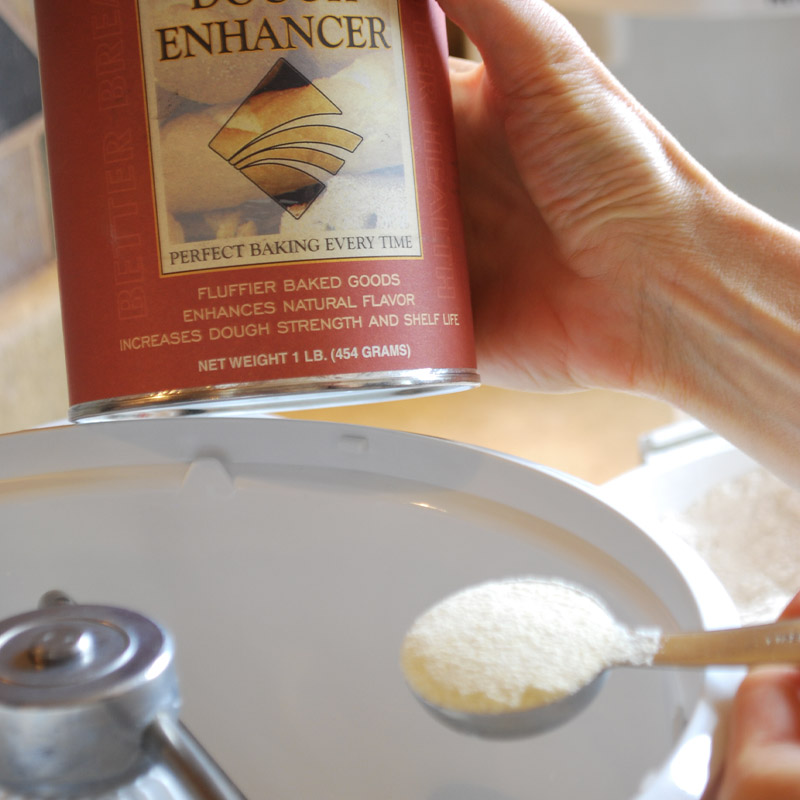
Add 6 cups of warm water to the bowl, 110-115 degrees. To this add 3 Tbsp. of dough enhancer. Adding a dough enhancer helps produce a soft and fluffy, (light) bread texture, and keeps it from being crumbly.
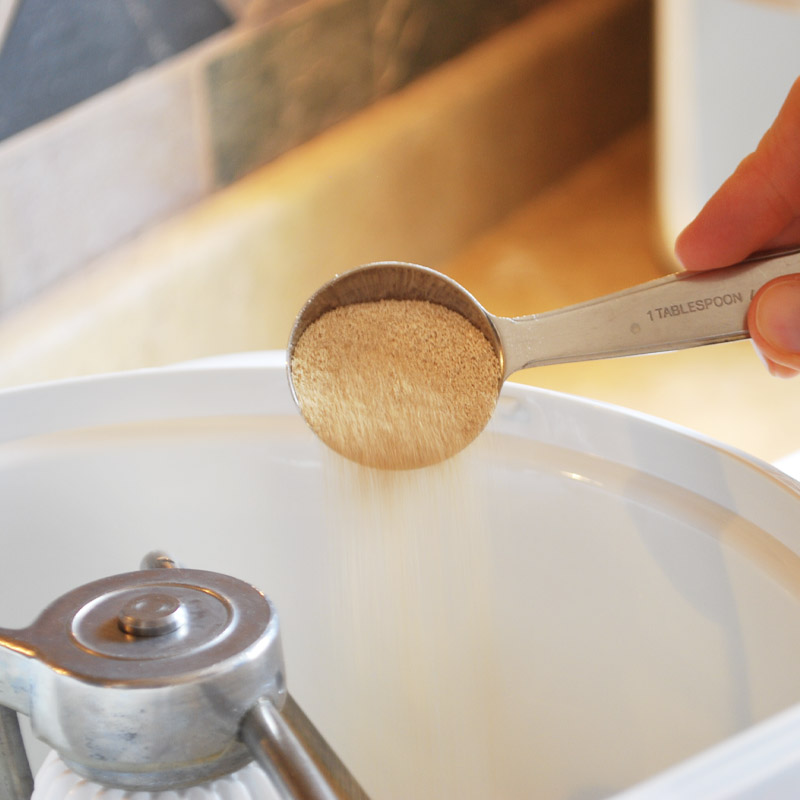
Add SAF Yeast
We use SAF instant yeast. Add 2 1/2 Tbsp. to the warm water. The water can be warmer if you add the yeast on top of the flour, no more than 120 degrees. Remember the freshly ground wheat is also warm. Hot water could kill the yeast.
Notes on Adding Additional Gluten to Wheat Dough
In addition to dough enhancer, some bakers like to add powdered gluten. I have not found this necessary unless I’m mixing low or gluten-free grains with my wheat such as rye or millet. Hard wheat, Kamut and Spelt are all high-gluten grains. 1/3 c. of gluten is about what we add when we add it.
Add Grapeseed Oil (or Olive) and Honey
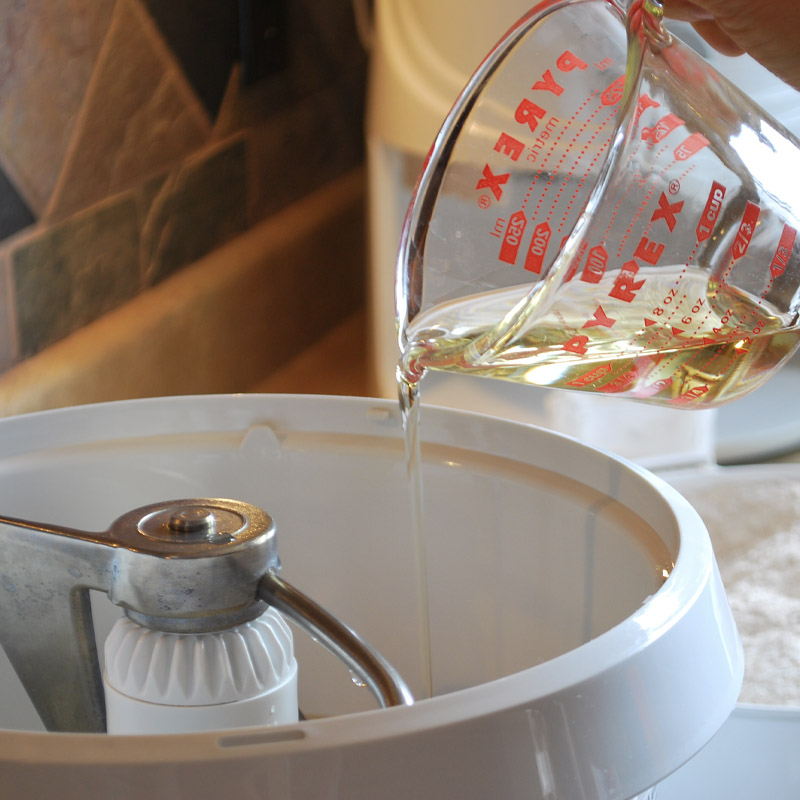
Add 3/4 cup of grapeseed or olive oil. Vegetable oil will work if you don’t have the other oils.
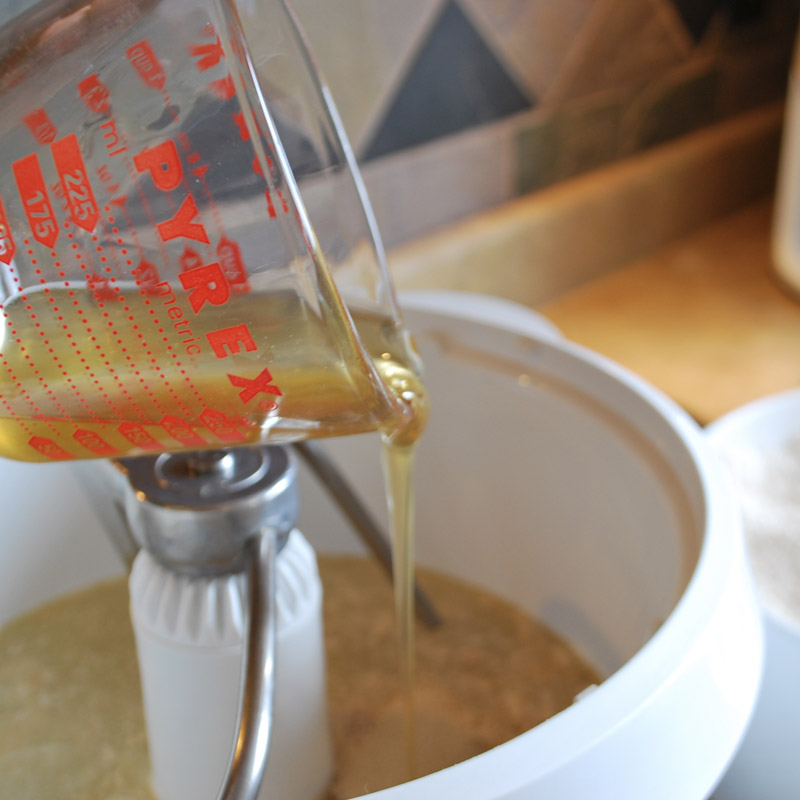
Add 1/2 cup of honey. Jog a bit to mix.
Add 5 Cups of Freshly Ground Whole Wheat and Ferment
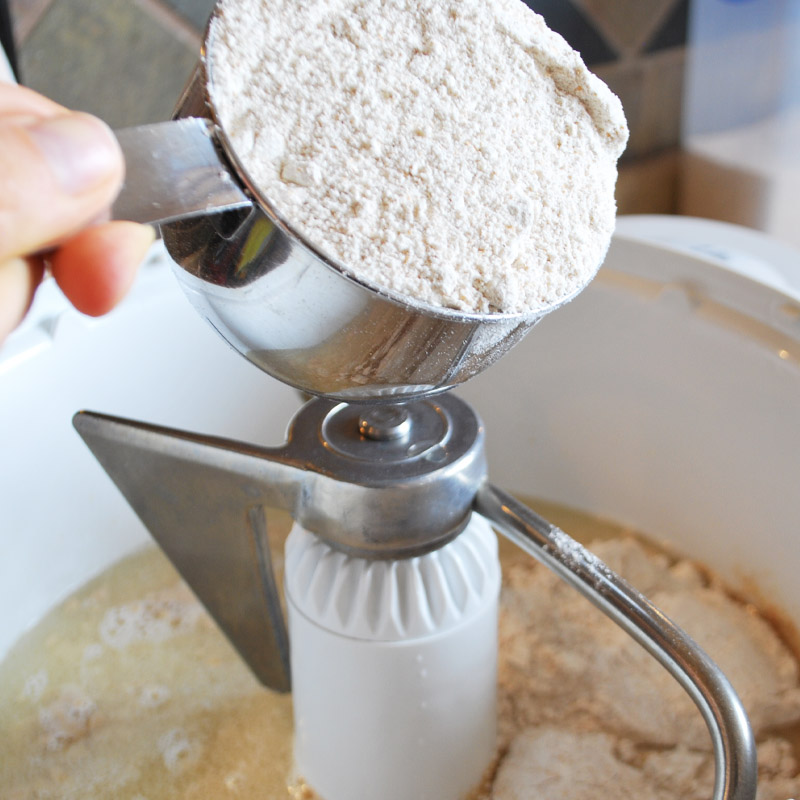
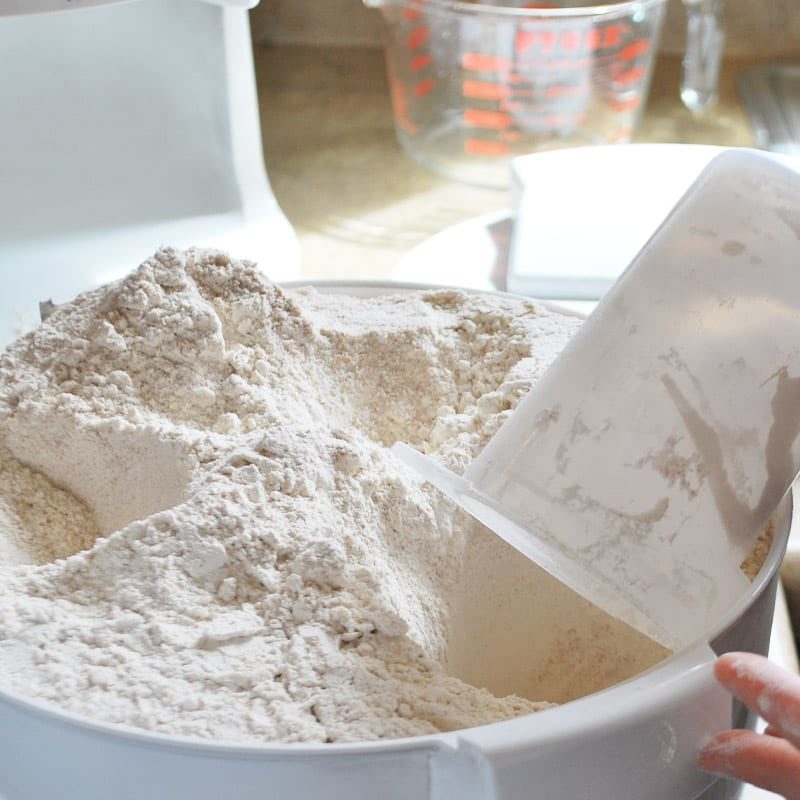
Add 5 cups of your warm flour and jog a bit more to smooth it out. NOTE: Salt is added with the remaining flour.
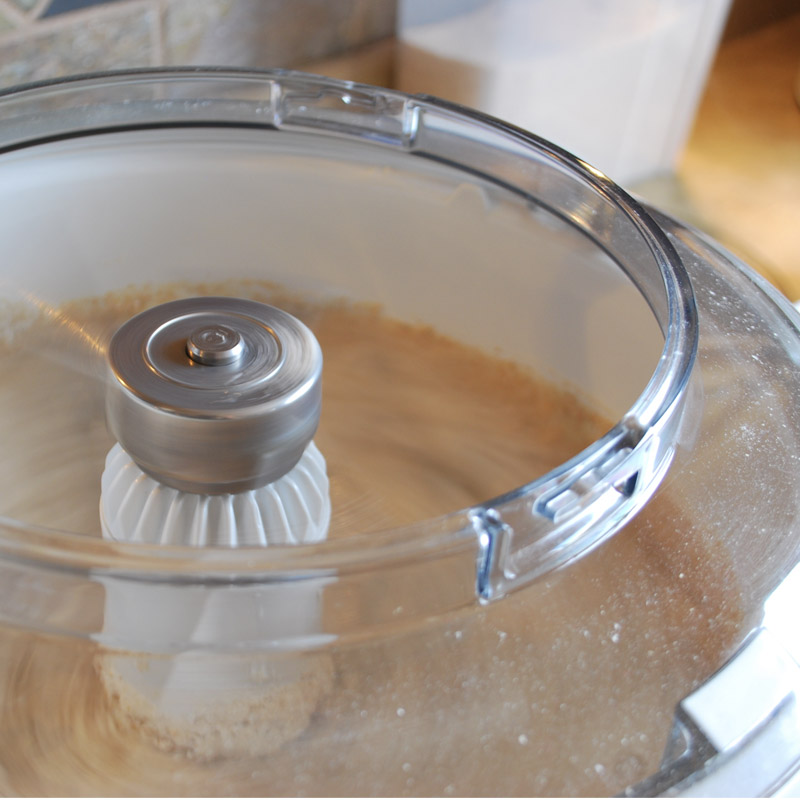
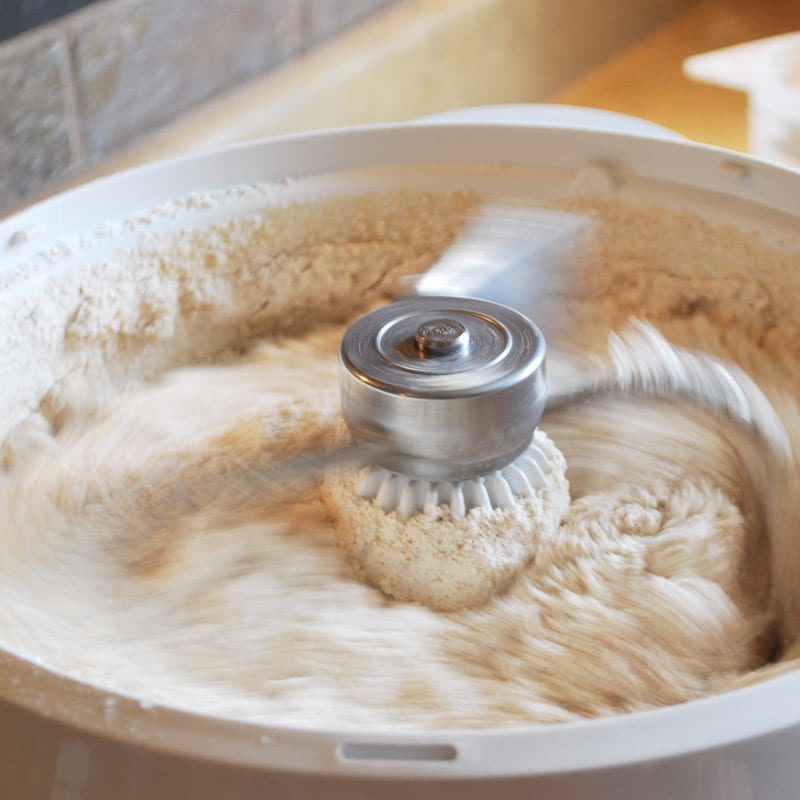
Jog the sponge. This will sit for 15-30 minutes before we add the entire amount of flour.
Cover and Sponge Whole-Wheat Dough
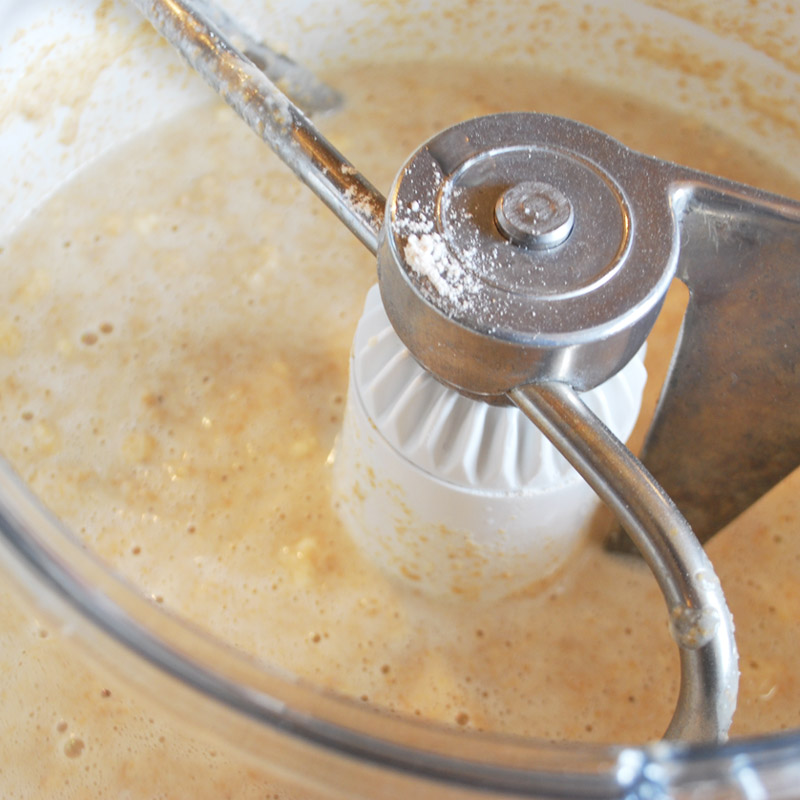
You should immediately be able to see the bubbles forming, this is the beginning of fermentation.
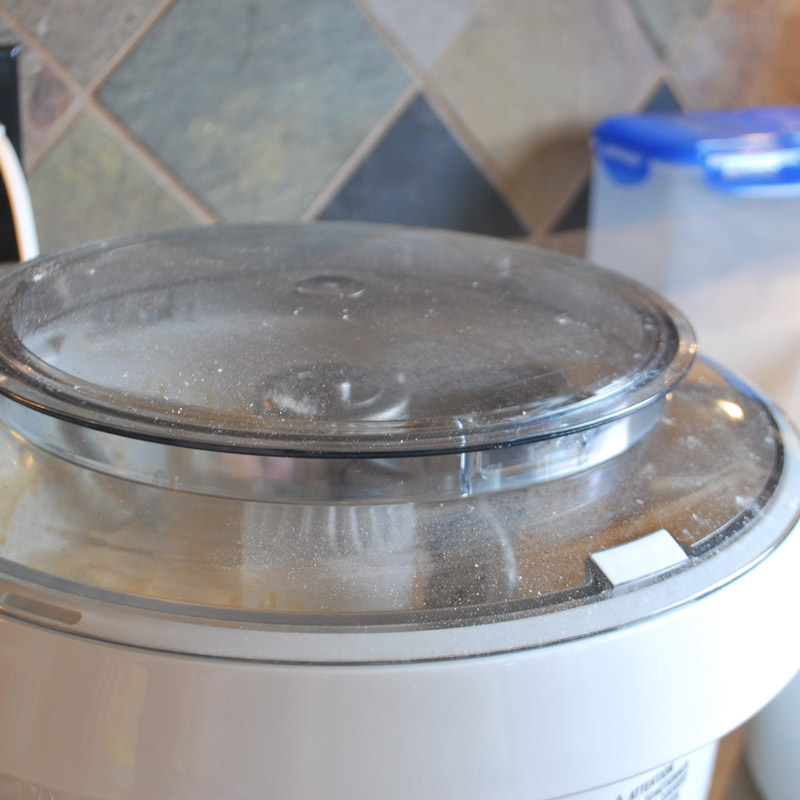
Cover your mixer as the warmth will get the process moving fast!
Bubbly Fermenting Whole-Wheat Dough!
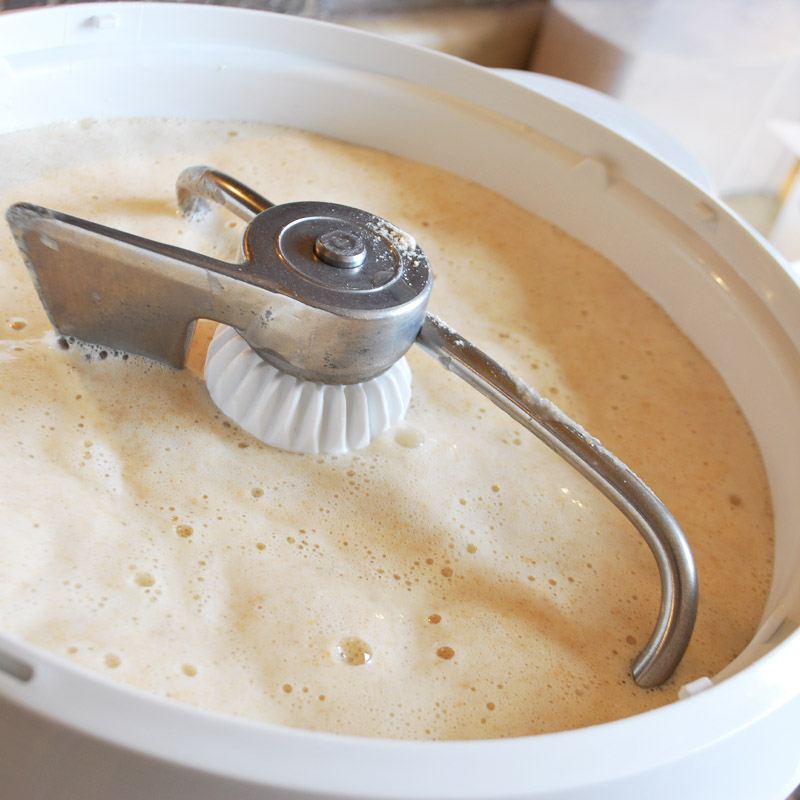
10 minutes into the sponging process, there is a beautiful, bubbly fermentation! Keep an eye on this, and jog down frequently.
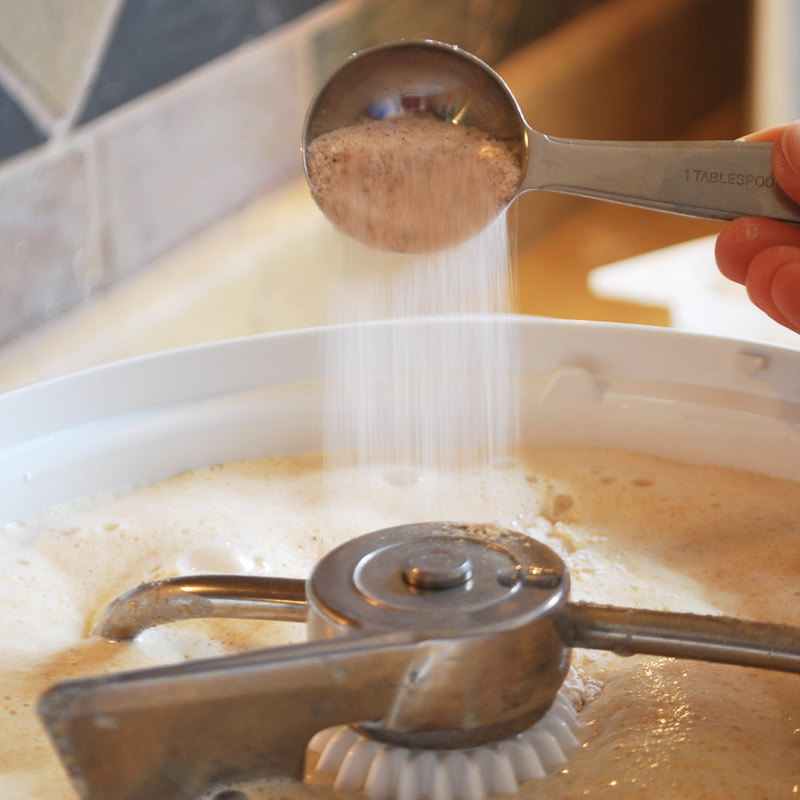
After 30 minutes or more of fermentation, add 2 Tbsp of Real Salt, a natural mineral sea salt.
Watch our Whole-Wheat Dough Sponge in Action!
Add Remaining Whole-Wheat Flour
A note on jogging down, don’t let the mixer ‘run’. Jogging down is manually turning on and off the ‘M’ on the Bosch or your manual start/stop switch.
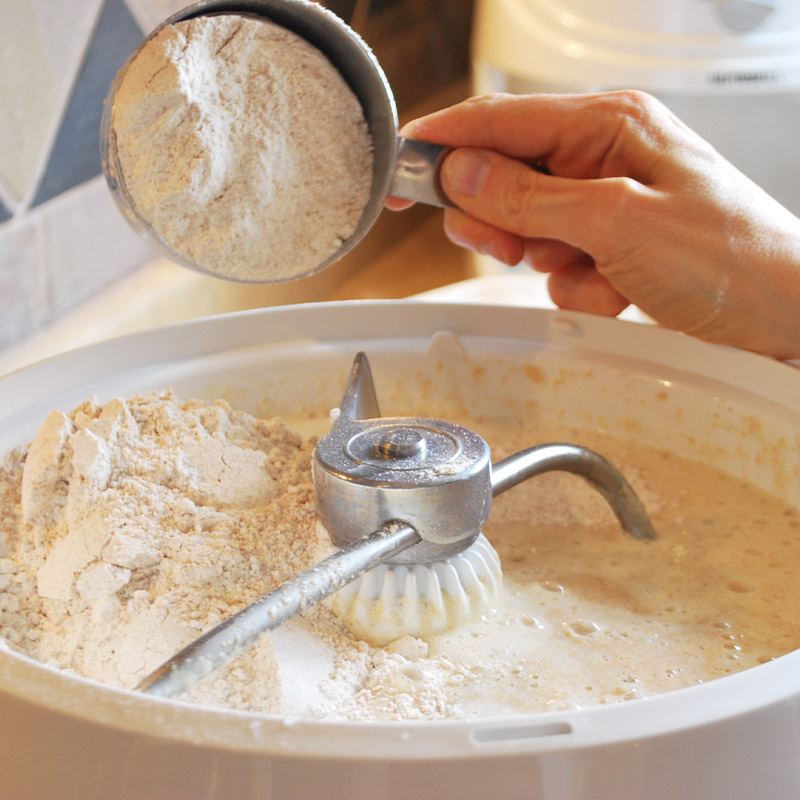
The mix is still bubbling! You’ll add 1-2 cups at a time, jogging down each time. You are going to need anywhere from 10-13 cups more of flour.
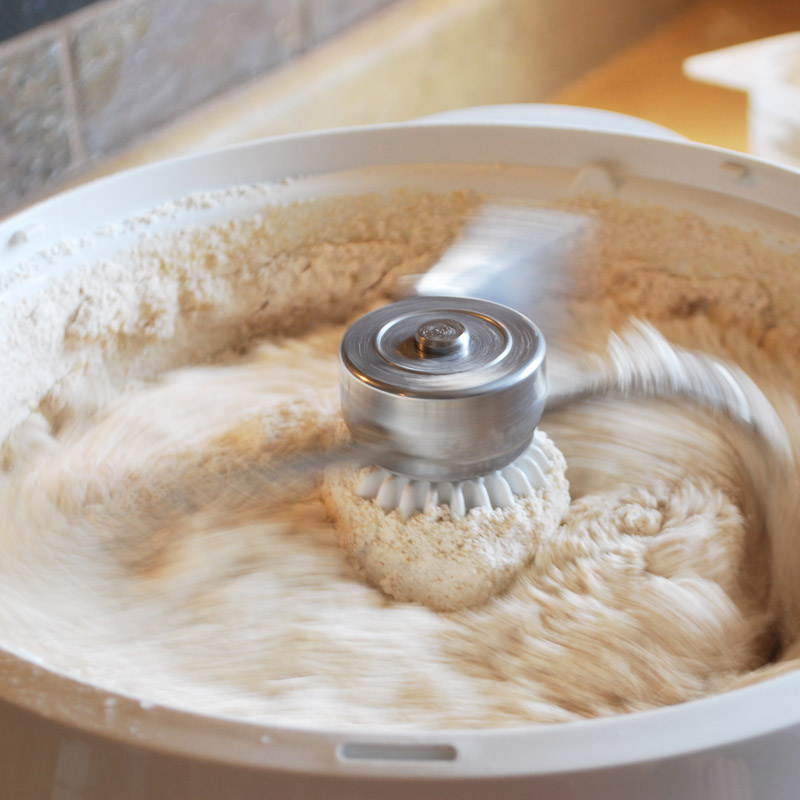
There has never been an exact science to adding flour. The humidity seems to greatly affect how much more flour you’ll need. We watch for the cleaning of the bowl.
Watching for Signs When Adding Whole Wheat Flour (Bosch Mixer)
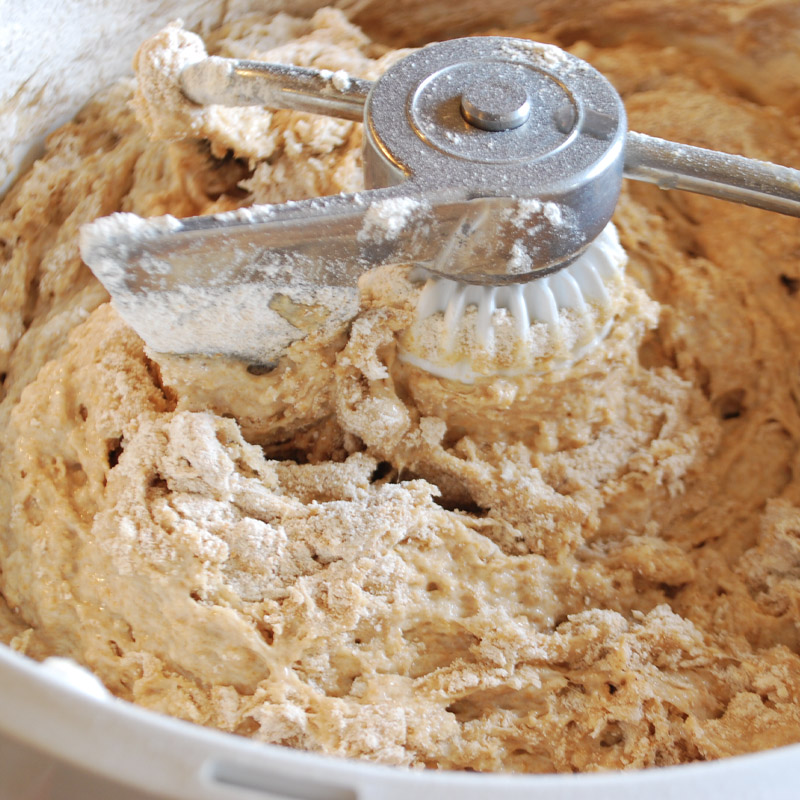
Here’s my tell-tale sign! This is my bread dough after adding 10 more cups of flour, (15 so far). Humidity was high! I call this the chunky look.
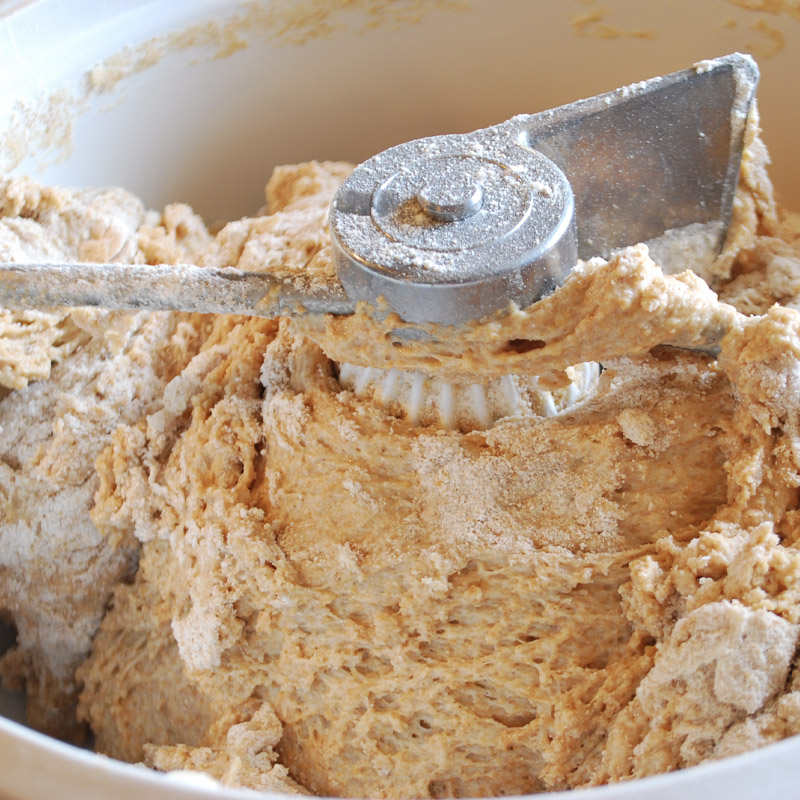
It’s about now that I usually need 2-3 more cups of flour. I added 2 1/2 cups more and you can see it’s starting to clean the bowl on the side.
Windowpane Test Whole Wheat Bread Dough
What is Gluten? When yeast gives off carbon dioxide gas, which will stretch the gluten strands allowing the dough to rise. The strands are developed by proper kneading and are delicate. Once broken, they cannot be repaired.
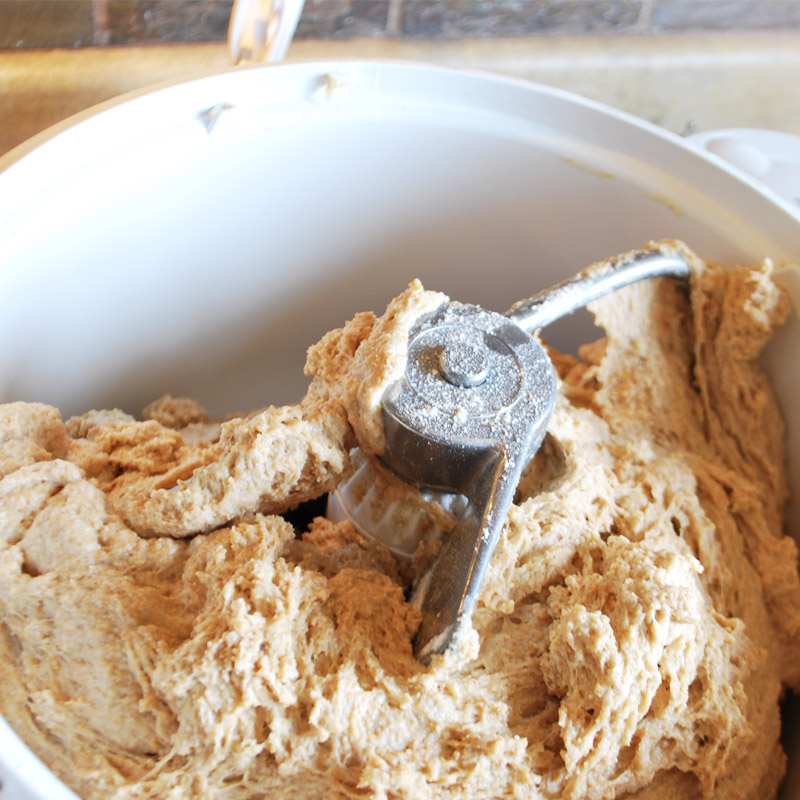
The bowl has started to clean. The dough should be tacky at this point but not stick heavy on your fingers, not gooey! I’ll start a 5 minute time for kneading; use speed 4 on the Bosch for a full load like this. If you use Spelt, check gluten development at 3 minutes.
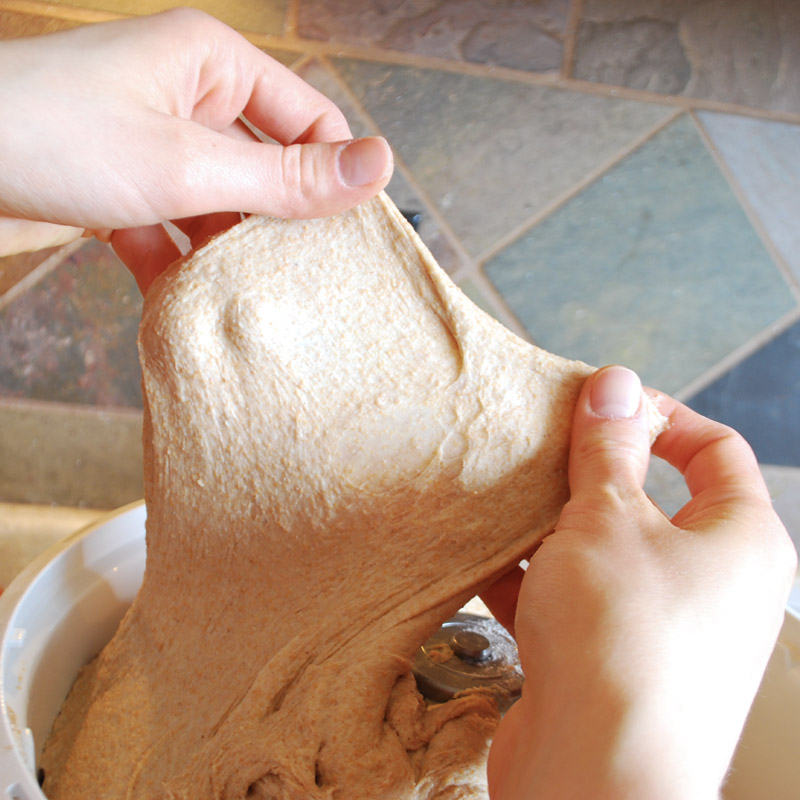
Check the gluten development. Grab a little dough and pull upward to see if you can get a nice stretch without tearing the dough. This is sometimes referred to as the windowpane. If the dough tears, you’ll need to decide if you over-kneaded or under- kneaded. Let the dough rest for 10 minutes.
Note: You must be careful with Spelt. If you timed it exactly 3 minutes and don’t get a stretch without tearing, give another 40-50 seconds. Wheat should develop fine at 5 minutes in the Bosch mixer. Over kneaded dough cannot be fixed.
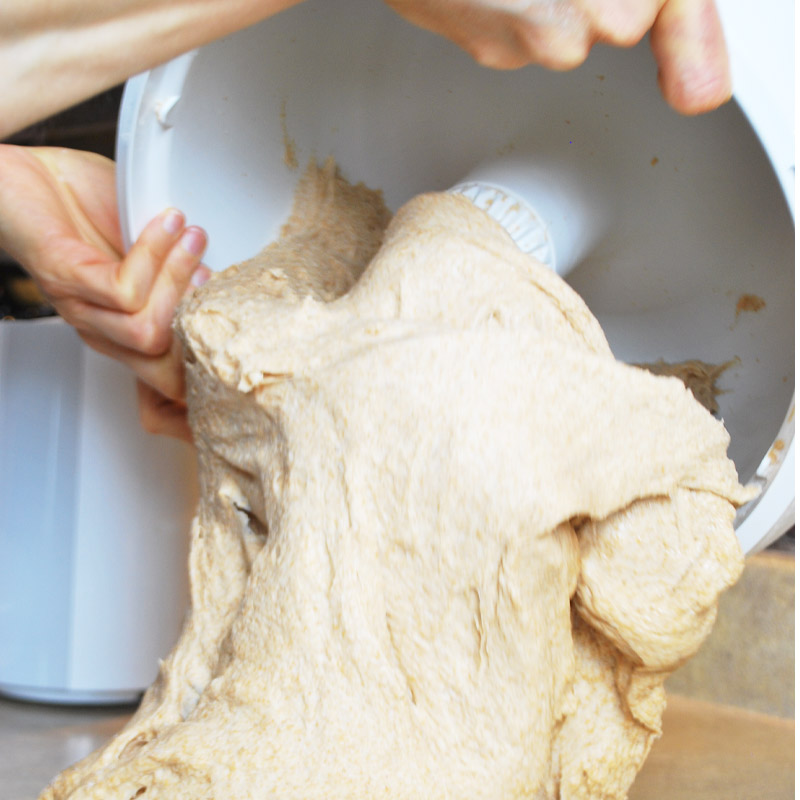
Dump the dough out on an oiled counter, not a floured counter. It should come right out, the bowl totally clean.
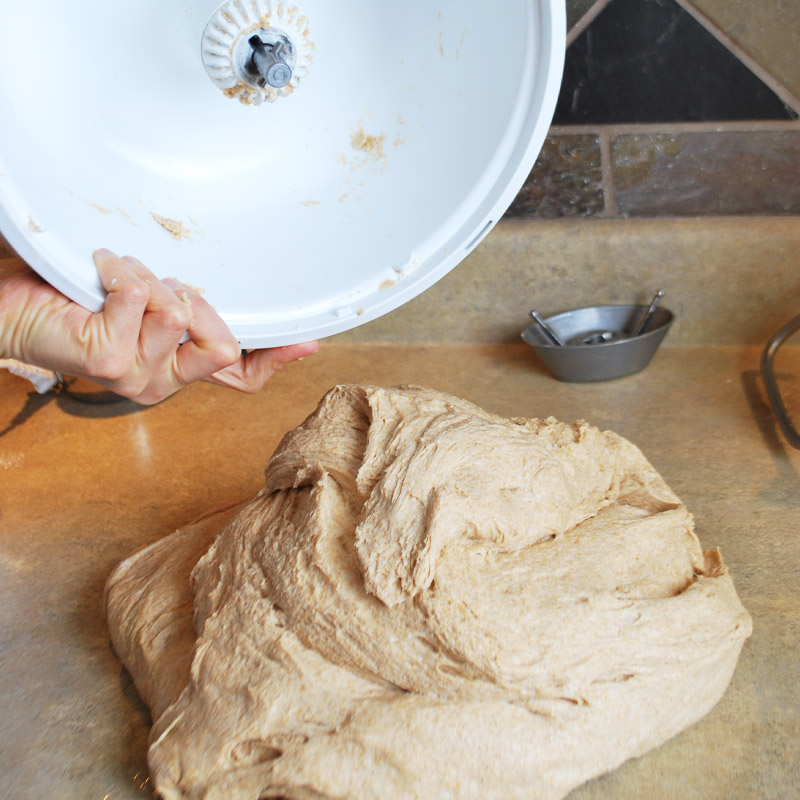
Don’t pull and stretch the dough too much. Shape it slightly. Cut the dough into portions with a knife depending on your pan size. You can weigh the dough on a kitchen scale if you’d like.
Cut and Shape Wheat Dough Loaves
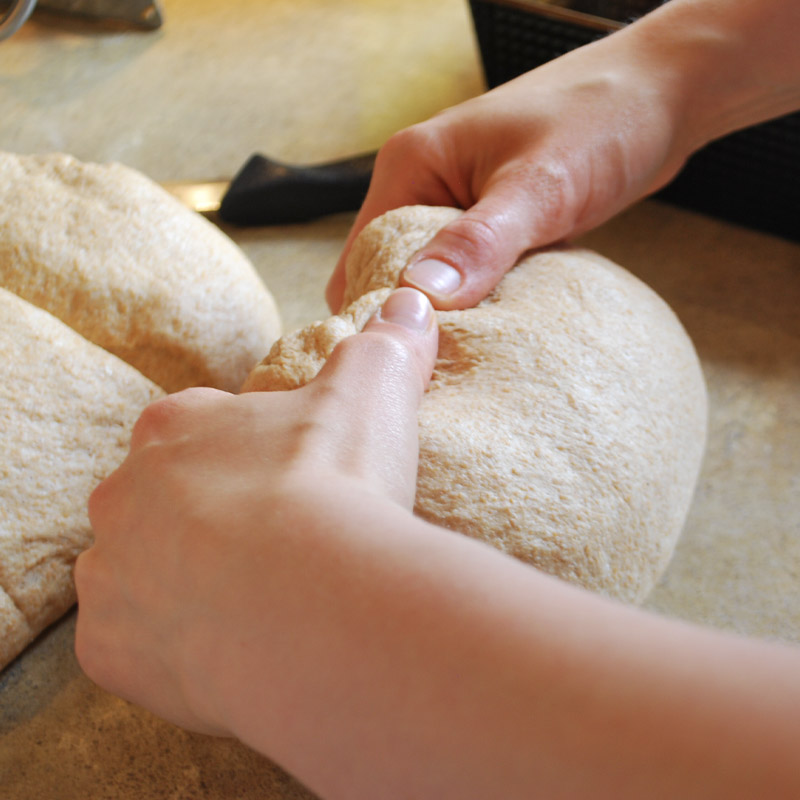
Take one portion and shape it into a loaf.
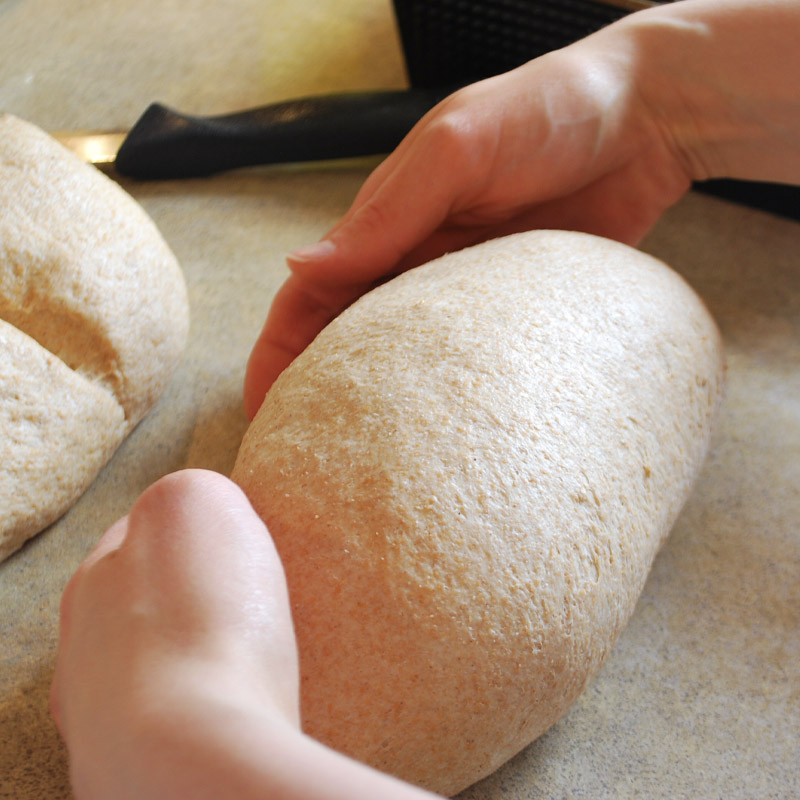
Pull the ends to the middle and roll under. Tuck under nice and smooth.
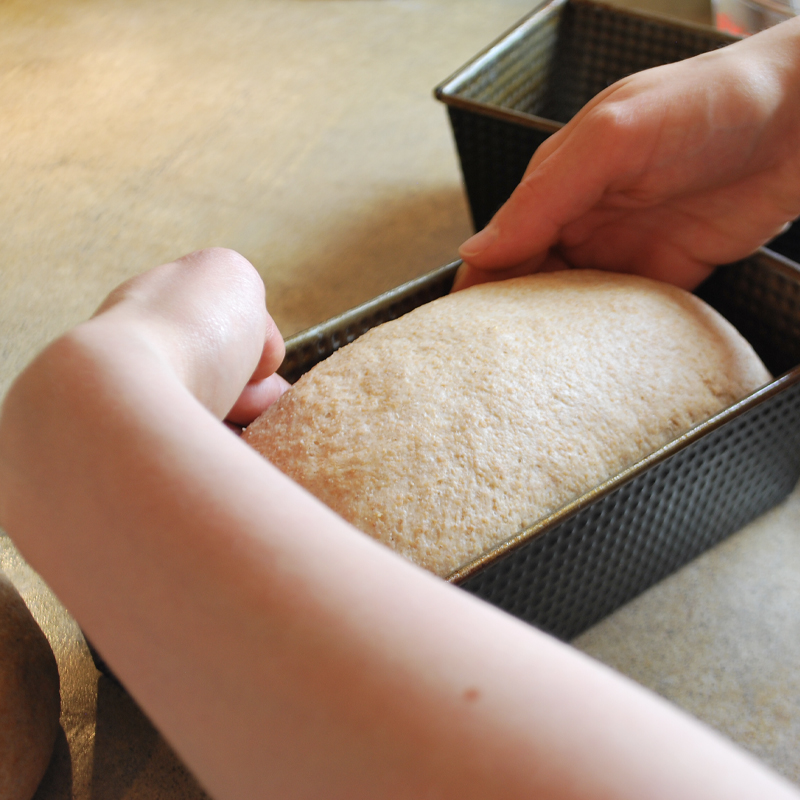
Repeat until you’ve filled your pans. I’ll also snip the top with scissors for decoration!
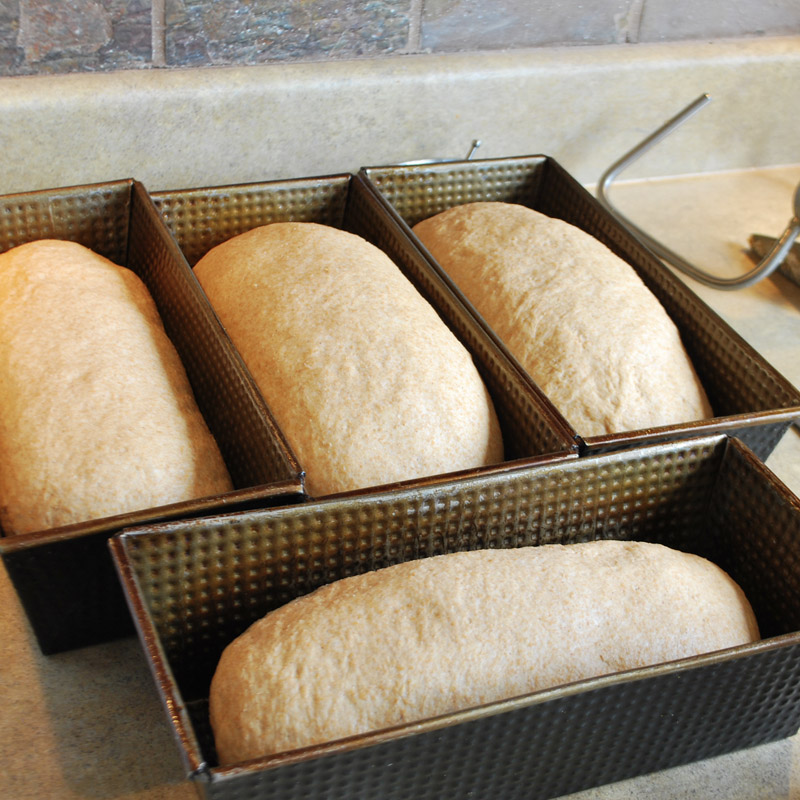
I use 10″ bread pans so I get 4 big loaves of bread. If you use 8″ pans you may get 6 loaves. Cover with a cotton cloth and let rise until doubled.
Set the oven to 350°. It usually takes 25 minutes for them to double. Cover with a nice bread cloth while rising. I set them close to the oven for more heat. You only rise once! That is the beauty of the Bosch. It’s so powerful you cut out the need for a second rise (sponging helps too). Do not overproof. Once you can set your finger in and the dough springs back with no indent, they are done rising.
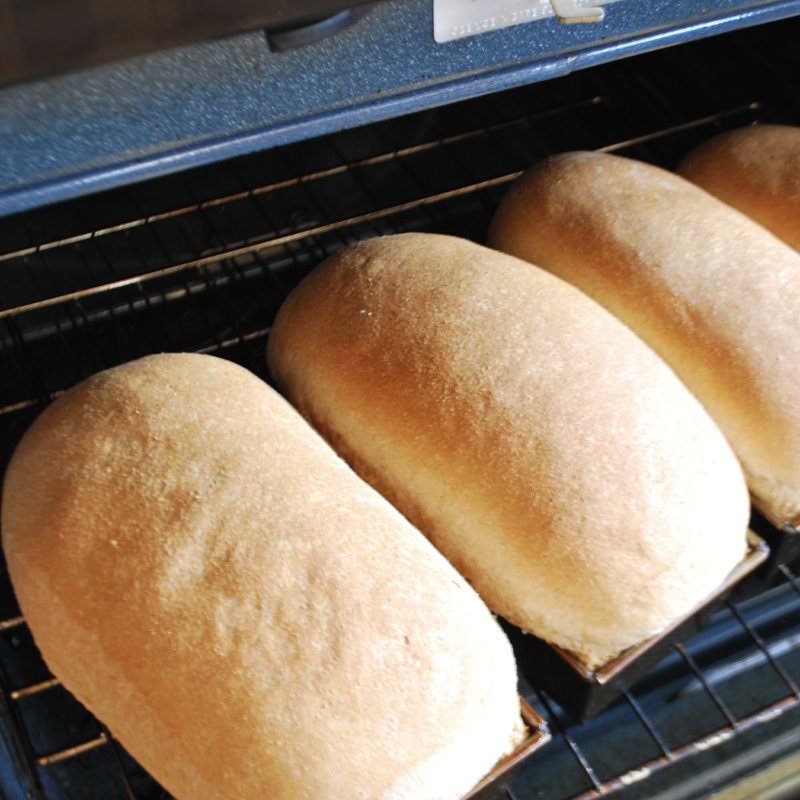
Place the bread in the oven for 26-28 minutes. The internal temperature should reach 180 degrees if you want to test. They are done when they are brown and sound hollow when tapped.
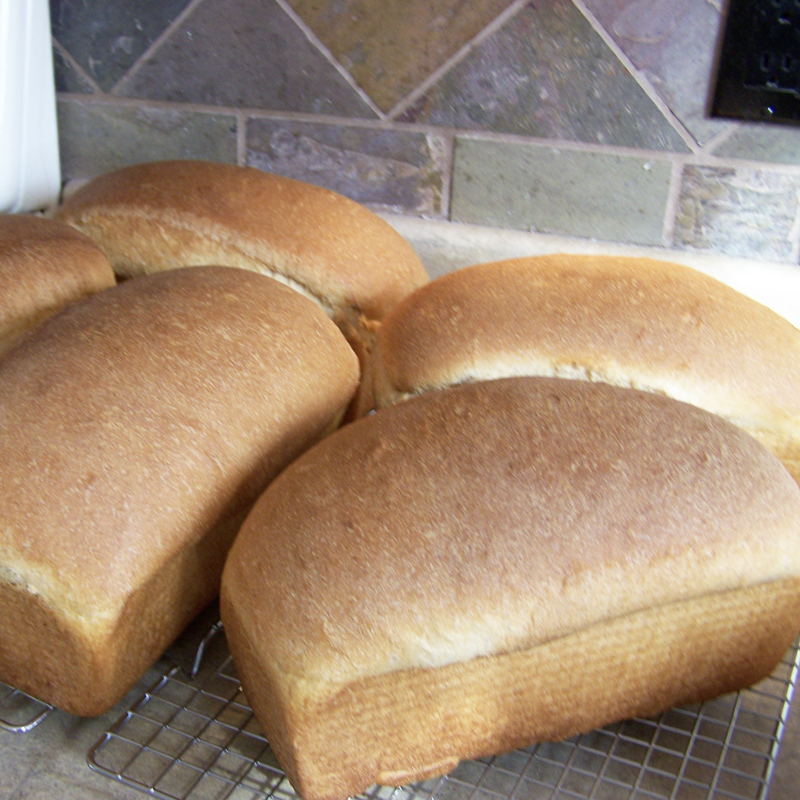
Yummy homemade whole wheat bread! You can store your bread in bread bags in the freezer for 3 weeks. We don’t normally store them for more than 1 week with our size family. They will start to go stale on the counter after 3 days.
Enjoy! Feel free to start a conversation on the forum if you need help or even want to share success!
Theresa
Print
How to Make Whole Wheat Bread
- Total Time: 1 hours
- Yield: 4 loaves 1x
Description
Homemade whole wheat bread is delicious and nutritious, as well as frugal.
Ingredients
- 6 c. warm water
- 3/4 c. grapeseed or olive oil
- 1/2 c. raw honey
- 3 Tbsp. dough enhancer
- 1/3 c. gluten (optional)
- 2 1/2 Tbsp. yeast
- 5 c. freshly ground whole wheat – SPONGE
- 2 Tbsp. sea salt
- 10–12 c. MORE wheat flour
Instructions
Preheat oven to 350 degrees. Prepare bread pans by spraying. Start a sponge with the water, honey, oil, dough enhancer, yeast and 5 c. of whole wheat flour. Jog until blended, cover and let bubble at least 15 minutes, up to an hour.
Add salt.
Start adding remaining flour, per the tutorial, until the bowl starts to clean. Follow the instructions for total flour, and the signs of gluten development.
Separate by cutting the dough into 4-6 loaves. Shape and place in pans. Cover, and let rise until doubled.
Bake 26-28 minutes, until brown and hollow when tapped. Internal temperature should be 180 degrees.
Enjoy with butter and honey!
Notes
Use a bread pan with high sides, like Norpro.
- Prep Time: 1 hours
- Inactive Time: 0 hours
- Cook Time: 0 hours
- Cuisine: American





This all looks wonderful. I do not have either of these machines and have been wanting the grain mill for a while. Still trying to figure out which one I want but I was wanting to ask a question regarding the bosch. I thought I had entered the 21st century when I got my Kitchen Aide and my hubby still calls it an overpriced stirring machine. Anywho, what makes the bosch better? It is just
Hi Theresa,
Well, I started with the Universal 9 years ago. I acutally had a Universal that was over 40 years old from a customer who finally wanted to upgrade!
I never owned a Kitchen Aid, but have a lot of experience from those who have made the switch. You will most certainly see the difference making bread in this machine. The Universal has a great big, heavy dough hook. The
Hello! I love seeing this recipe and all of the detail to follow along! I am wondering what the brand of dough enhancer you use? Also, do you have an Amazon store with your affiliate links to purchase what you use there? Thank you for your ministry!
Hi Kimberly,
Thank you! I use Grandma’s Country Foods Dough Enhancer. Many other brands are very good! Pleasant Hill Grains has very good products. I hope the post helped you, so happy to have you visit. I don’t have an Amazon aff link, but you’re a blessing to ask. {Hugs} visit again!