We love making ornament traditions! Sweet handmade ornaments are a joy for years to come. Leftover fabric is perfect to make the Rag Mitten Christmas Ornament. Grab your pretty stash of fabrics and let the kids make memories!
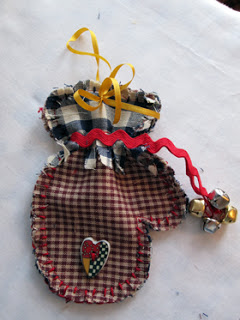
Rag Mitten Ornament
Supplies:
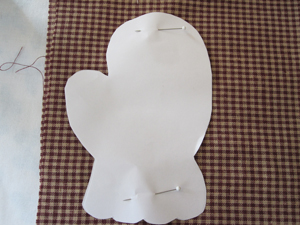
Homespun or Flannel – Scraps will work, you’ll need a front and back fabric Template Shape – Trace a small mitten or draw one Perle Cotton #5 plus Chenille #20 needle Buttons, Bells, Rick Rack or other notions 12″ Silk Embroidery Ribbon (4mm) – or ribbon small enough for the needle
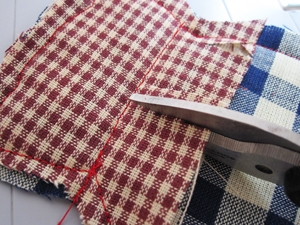
1. Cut out your shape on both fabrics, make sure it’s 2-4 layers thick for each one.
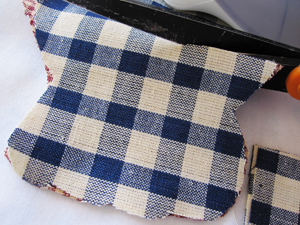
2. Cut out the bottom part of the mitten (if that is what you chose for a shape).
3. Arrange the shapes so you have one of the front and back fabric showing. Pin together. Pin the bottom part fabric, pinning opposite colors to each side.
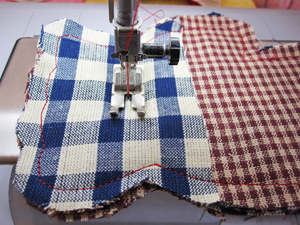
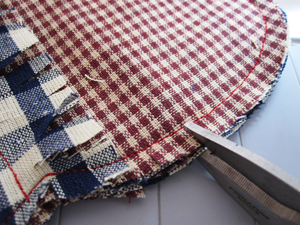
4. Using a 1/4″ – 1/2″ seam, sew around the shape, take your time!
5. Sew a line across the mitten bottom, about 1″ down from the top of the shape.
6. Snip the top of the bottom mitten shape on both sides. Also, snip the ends of the shape, don’t snip through the sewing line! Snip in 1/4″ increments.
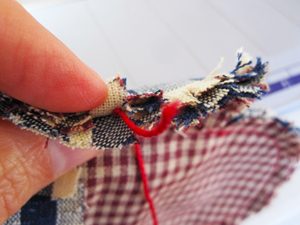
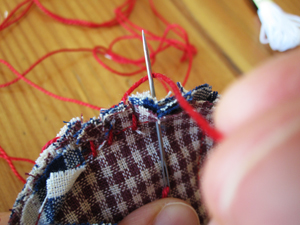
7. Thread your needle with the Perle cotton, and knot the end. Start at the middle line you sewed for the bottom of the mitten. Come up through the middle of the snipped fabric to plant your knot. Trim the end close to the knot.
8. Insert the needle at the line, bringing it through the back, and wrap the thread around the needle.
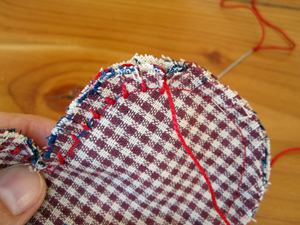
9. Pull through the slit of the snip, but not too tight. Using your needle, separate the snips so there are a few on each side of the loop. This makes a pretty looped effect all the way around the ornament. When you get to the top of the mitten bottom, tie off (take a small stitch, pull until you have a small loop, and insert the needle through the loop, pull – make sure it knots!) Switch thread colors and finish around the bottom.
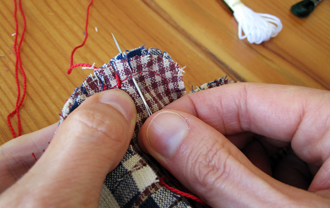
10. Fluff the ornament by shaking all the excess thread out and frilling the ends with your fingers. Run a quick gathering stitch across the bottom of the mitten sewing line, pull a little snug and tie off. This gathers it just slightly.
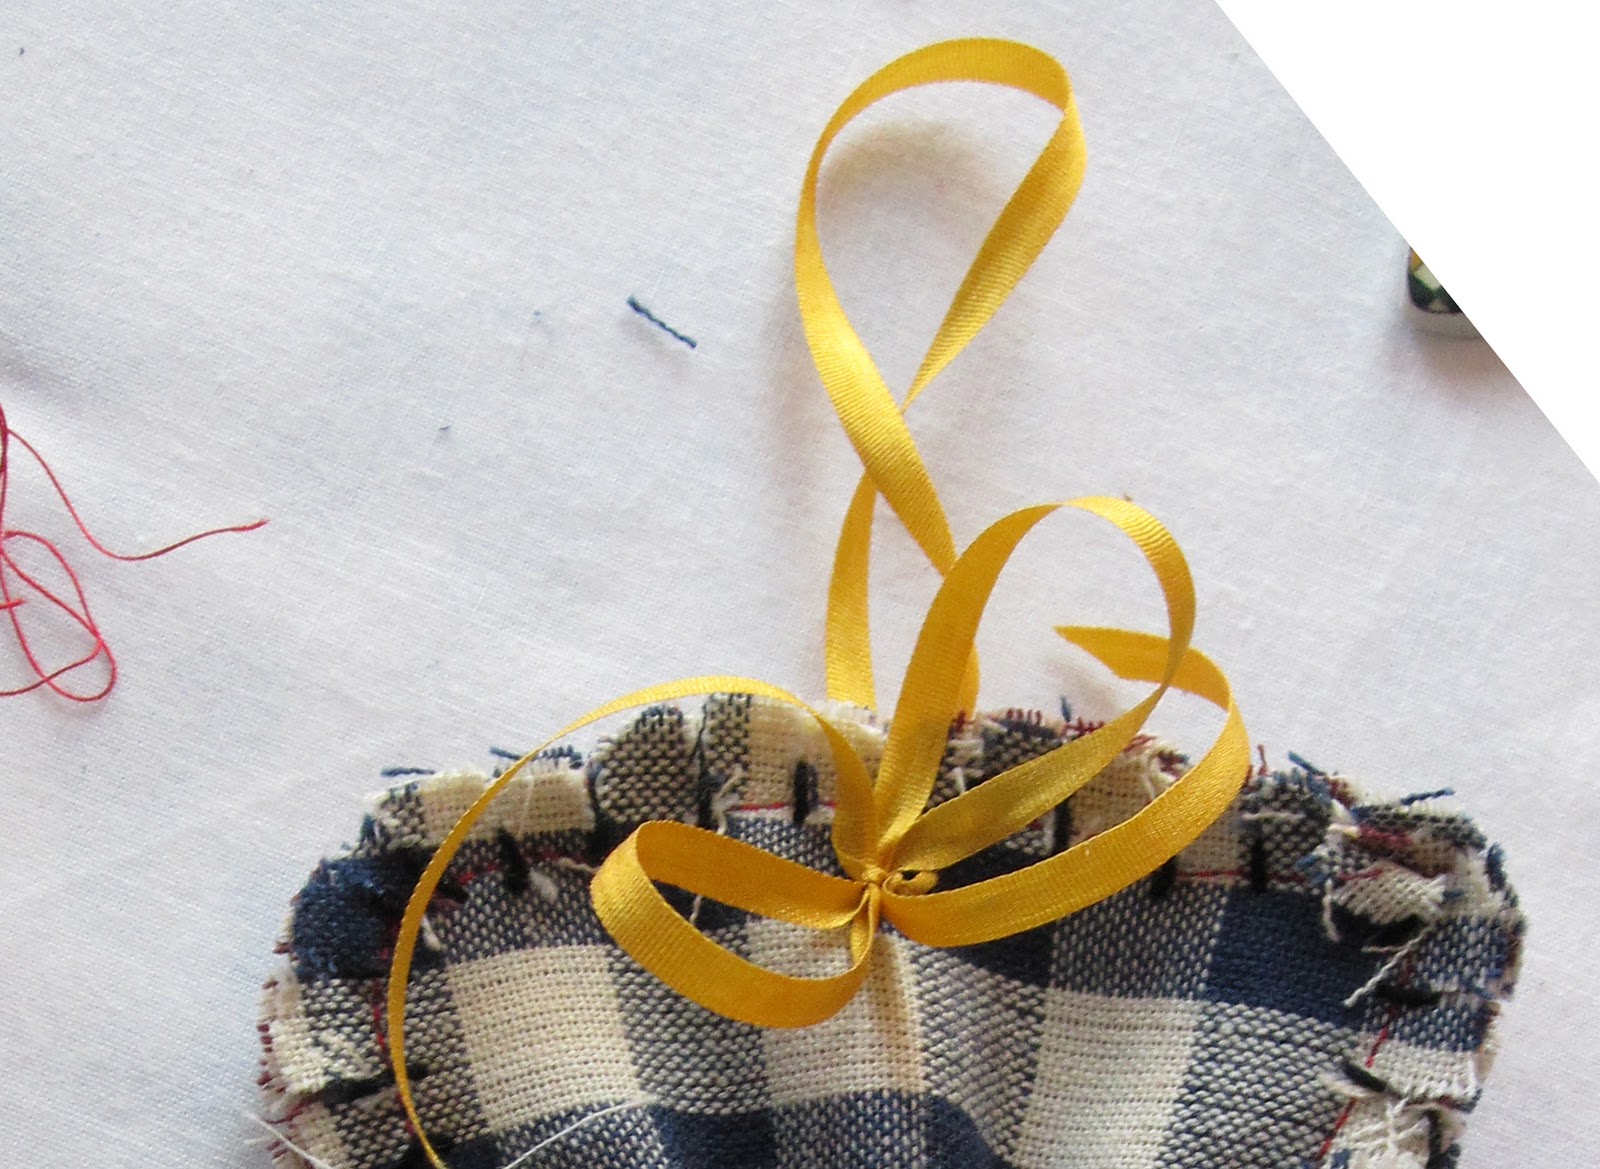
11. Thread the needle with the ribbon. Pull the ribbon through the middle of the snips at the top, bringing it out about 5″. Remove the needle and thread the other end bringing it through the same way, but leave a loop at the top. Tie a bow.
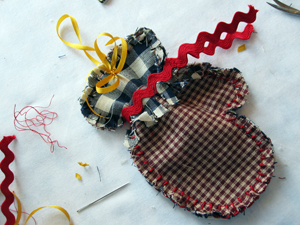
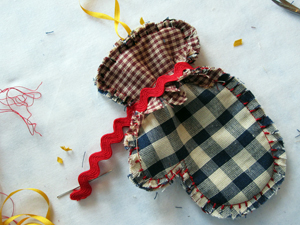
12. Add a piece of the Rick-Rack below the ragged mitten bottom. Sew a zig-zag stitch to close the ends near the mitten.
Front and back of the mitten.
13. Add bells to one rick-rack end. Thread and knot a needle, and pull through one end of the rick-rack. Add the bell to the needle, and continue with a few bells. Tie off. Then put a few stitches to stitch both pieces together. Sew on a button in the middle. The one stitch will show on the back but it doesn’t matter really, the ornament is very pretty!
Have fun making homemade ornaments for your Christmas tree. They are so meaningful throughout the years, especially when your children get older!
Super duper cute, ladies! I love making rag quilts, and these mittens look so easy and adorable. 🙂 Thank you all again for this nice blog and giveaways!
We use cookies to ensure that we give you the best experience on our website. If you continue to use this site we will assume that you are happy with it.OkPrivacy policy


You're very welcome Kari! Thanks for coming by!
Super duper cute, ladies! I love making rag quilts, and these mittens look so easy and adorable. 🙂 Thank you all again for this nice blog and giveaways!
Please enter me into the giveaway. Thank you for the daily giveaways!