Plackets Made Easy
Plackets are made easy in just a few steps. A placket is simply a strip of fabric for an opening in a garment that will be joined in some way – buttons, hooks etc.

[clickToTweet tweet=”Plackets confused me terribly. I finally got it and now can easily make a placket for any garment.” quote=”Plackets confused me terribly. I finally got it and now can easily make a placket for any garment.” theme=”style1″]
Plackets Made Easy
I’m making an easy placket so I can use buttons down the back of a dress. We stitch where the skirt top meets under the buttons.
1. This is the back of the dress skirt, not yet attached to the bodice. The bodice will be attached after we make the placket. I cut an opening of desired length; 3 in” is usually big enough for my girls – sizes 4-5. The skirt is inside out. Open the placket cut, flat as shown. Remember this is the skirt, I’m cutting on this piece.
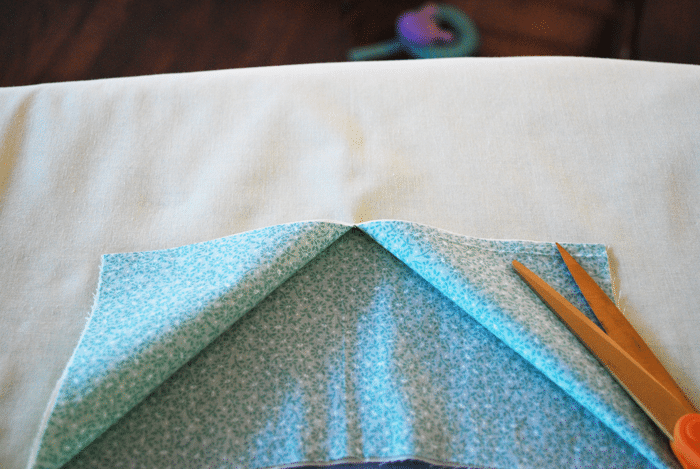
2. The width of my placket strips are 2″, measure the length of the placket and cut a matching strip from your dress fabric.
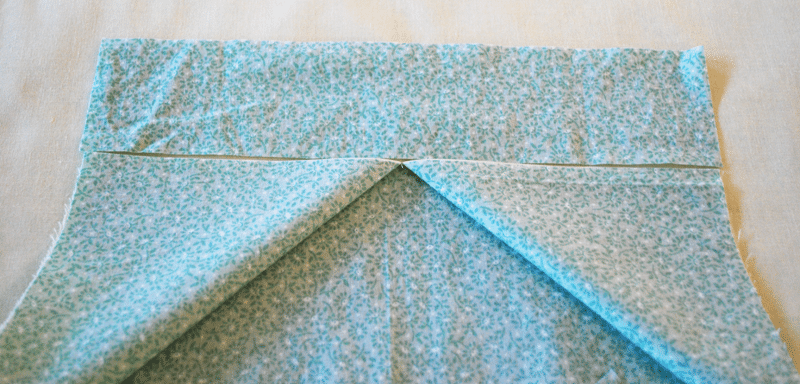
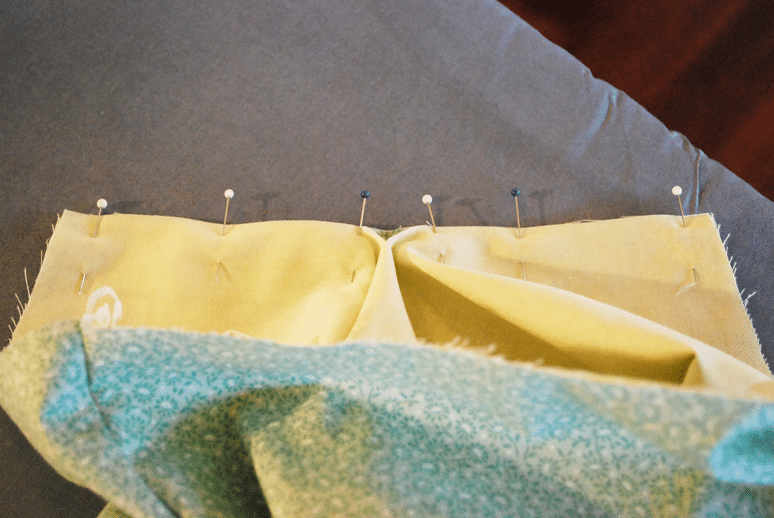
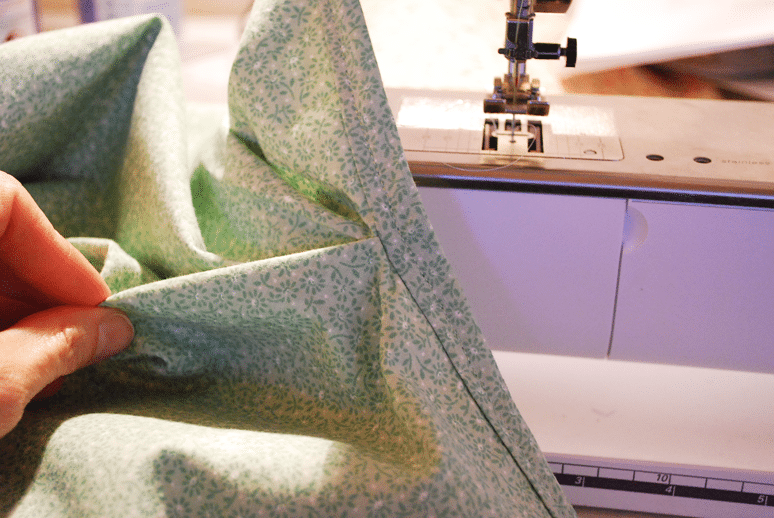
4. Take your pinned placket/skirt to the sewing machine and with matching dress thread, sew a seam allowance that will be able to catch the middle cut and secure it. Make sure your dress is laying FLAT and the cut will almost be even with the raw edge.
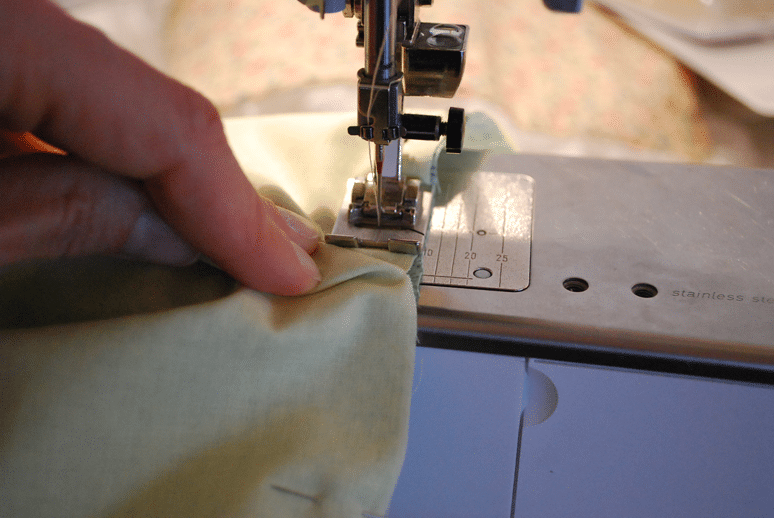
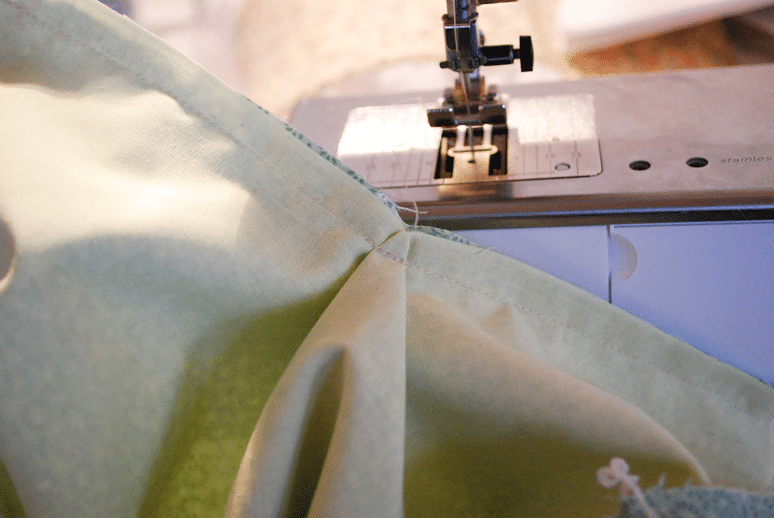
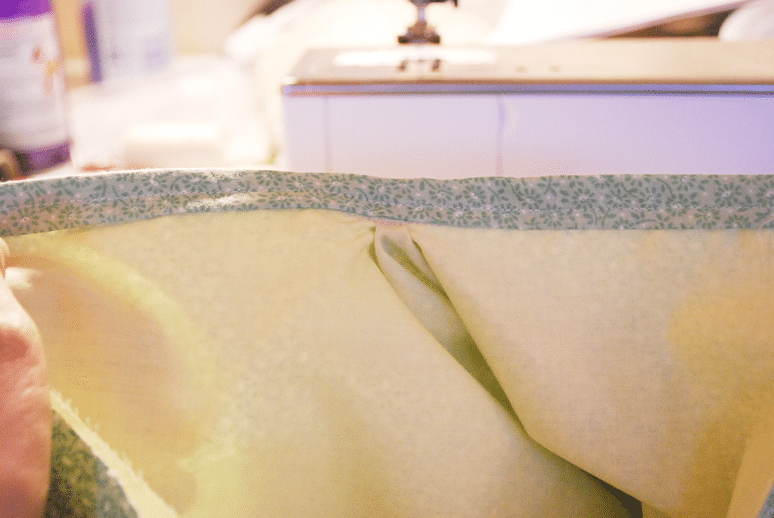
5. Flip over placket strip, and iron upwards. Make a hem on the strip, and turn over to meet the inside sewing line. I don’t give the hem measurement because it may not meet the line you have sewn, that will depend on the seam allowance. Adjust the hem to fit the line. Yes, cut the strip if needed. I make them bigger than I need width wise so I know there is enough. I found it much easier to make my own measurements for my needs, instead of following a pattern guide : )!
Do you see how it is pinned? I keep my left hand under the skirt to grab pins and top stitch this neatly with a matching cotton thread. It comes out much straighter than if I was sewing from the inside.
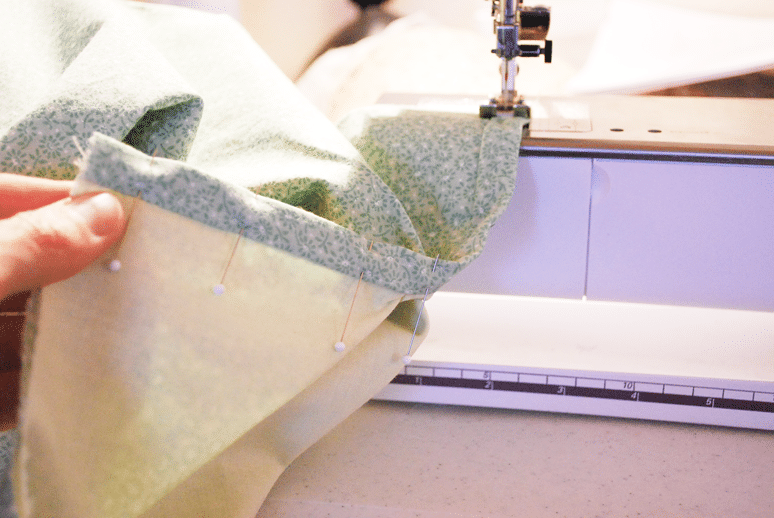
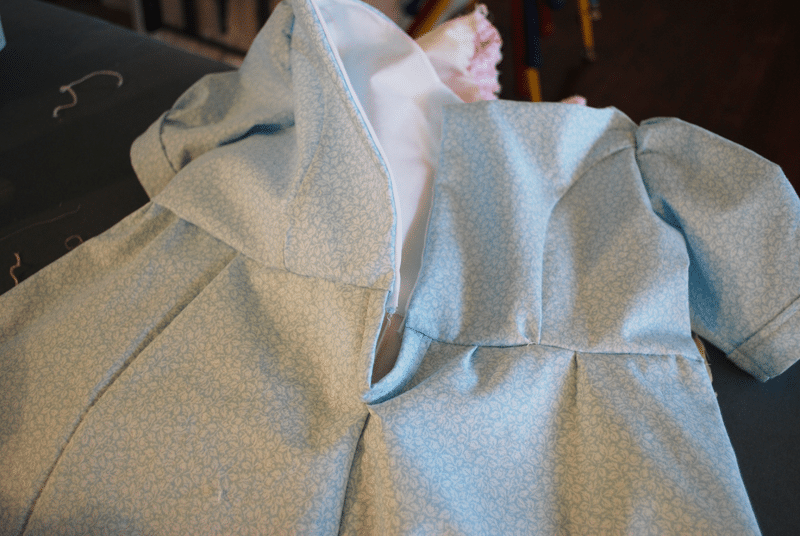
6. Your placket is finished! Wasn’t that simple? We attached the bodice here, and all that we need to do is hem under the lining and slip stitch, then add our pretty pearl buttons. Maybe we should do a lesson on attaching buttons also.
Feel free to leave a comment if you need help!
Have fun sewing!


